This classic gluten free pizza recipe has only 6 ingredients, is easy to make and shape like “real” dough, only needs one rise, and no kneading.
I developed this recipe for my first cookbook in 2011, and I’ve been perfecting it ever since. It’s a regular Friday night meal at my house, and many of yours, every week!
“This was the best pizza I’ve had since I was diagnosed with celiac six years ago. The gluten-eaters at my dinner said they could not tell the difference and loved the pizza. I was very proud and thankful for this recipe!”
“Other gluten free pizza recipes are like mud. This one is like dough! Loved it, thank you!”
Nicole’s Recipe Notes
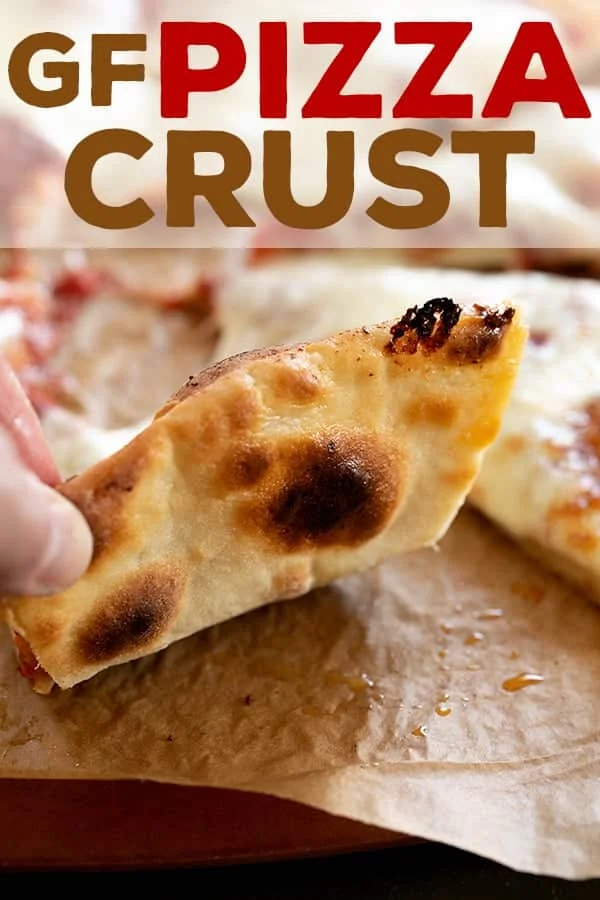
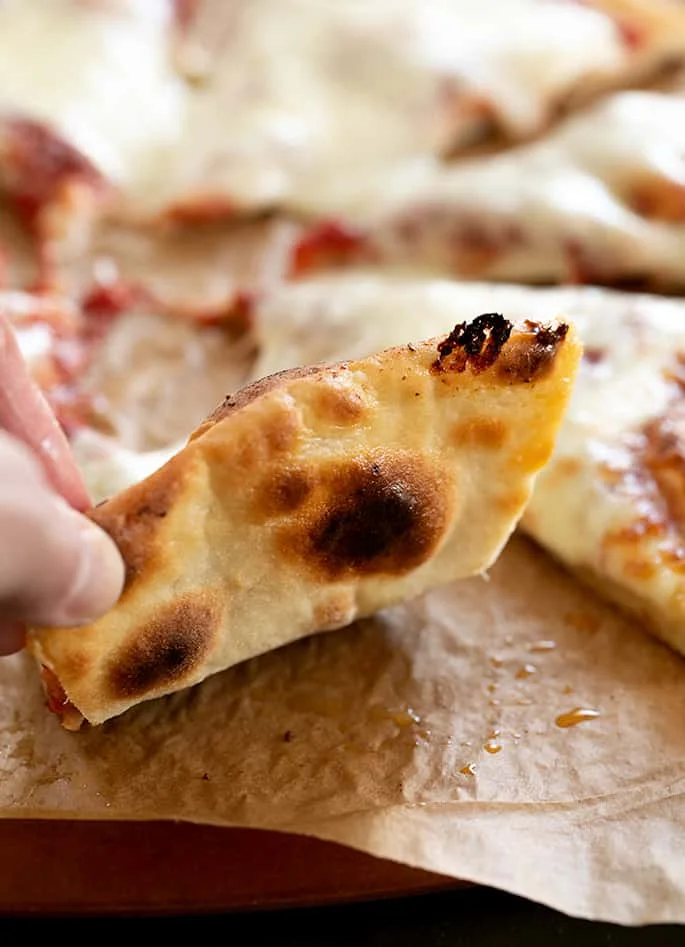
- Authentic taste & texture: A light and crispy outside and chewy in the middle, this crust is full of yeasty flavor—especially if you let it rise slowly in the refrigerator.
- Quick & easy: Dump the 6 ingredients in this recipe (including water!) in your mixer bowl and beat well. That’s all it takes to make the dough.
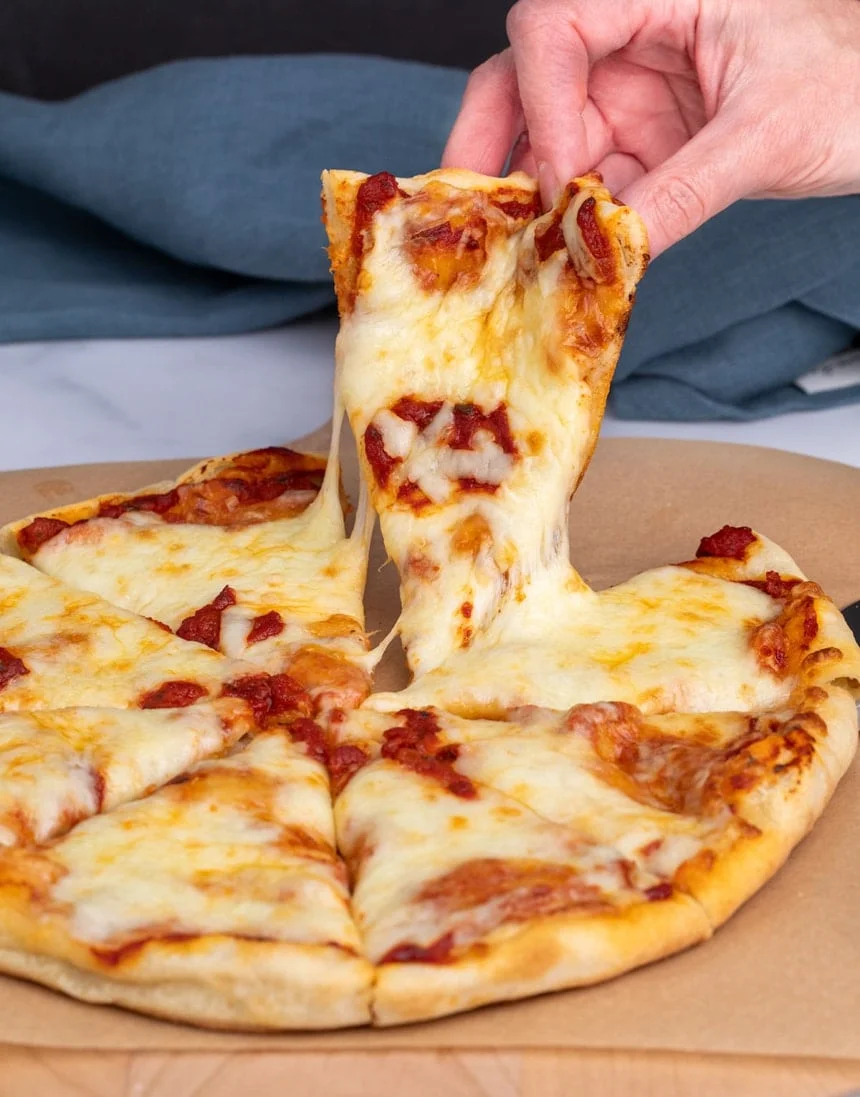
- Versatile: You can make a “regular” sauce and cheese pizza, or load up this crust with pepperoni, sausage, mushrooms, peppers and 3 kinds of cheese. It’s strong enough to hold it all!
- Make ahead: Make the dough ahead of time and store it in the refrigerator for at least 3 days, then shape and bake. Or parbake a shaped crust and freeze it until you need a quick dinner!
Recipe ingredients
- Gluten free flour: Any high quality, well-balanced all purpose gluten free flour blend should work here, including xanthan gum. No sourcing unfamiliar individual flours for this simple recipe.
- Instant yeast: Also called rapid-rise or breadmaker yeast, you add it right to the dry ingredients. No need to “proof” it first in water.
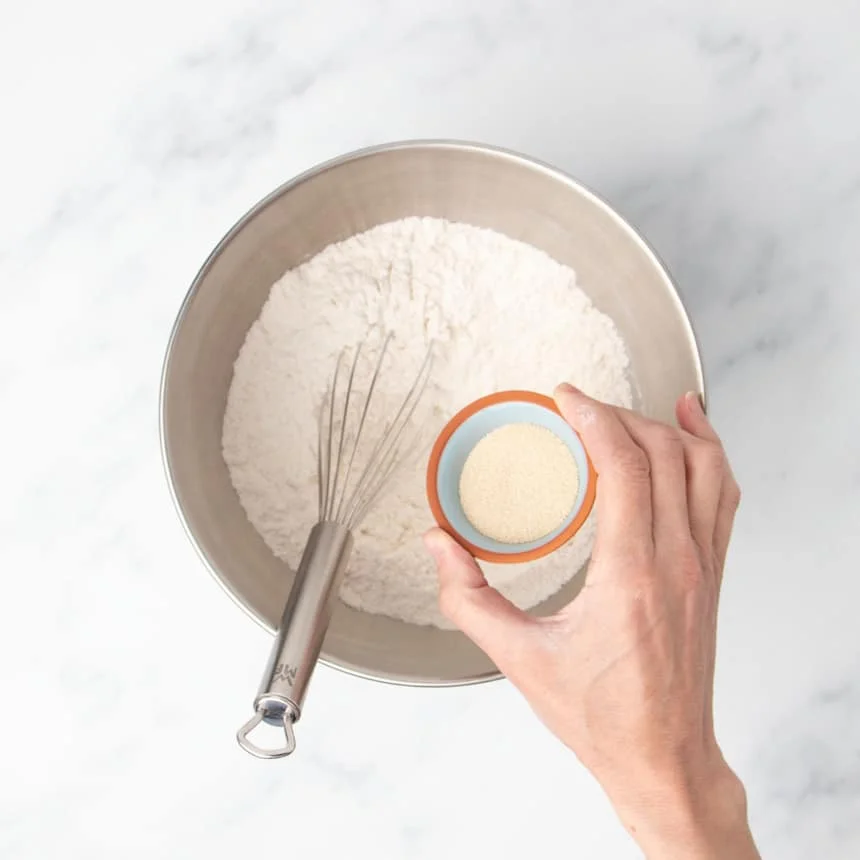
- Sugar: Just a touch helps feed the yeast without sweetening the dough.
- Salt: Enhances the flavor of the pizza, and without it, bread tastes bland. Also controls yeast production.
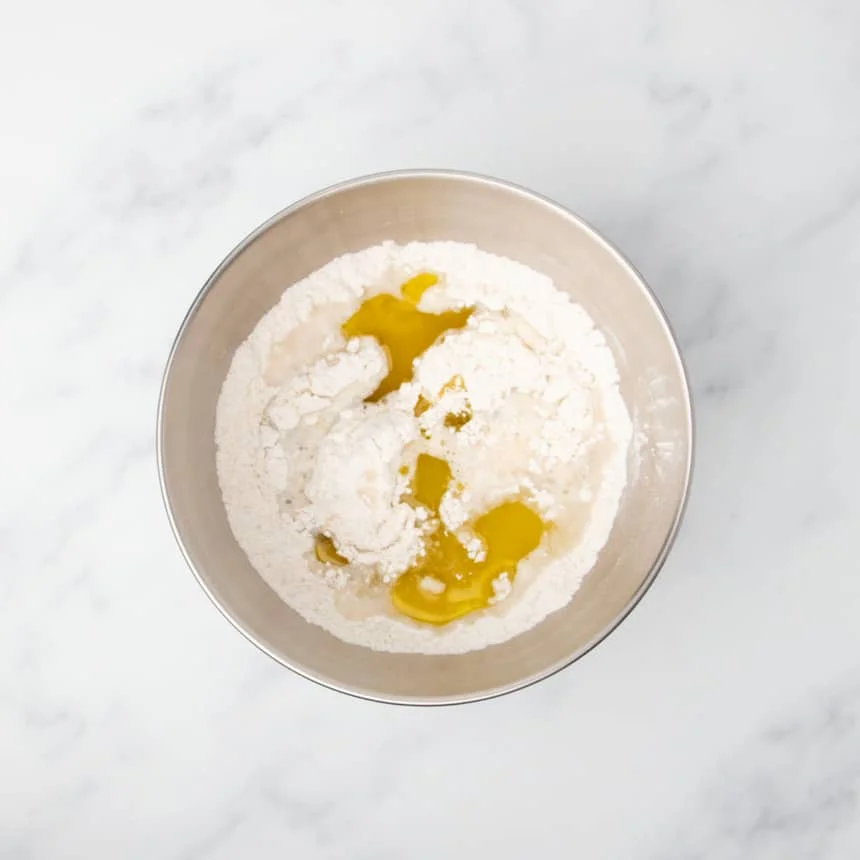
- Olive oil: Adds flavor, richness and tenderness to the dough.
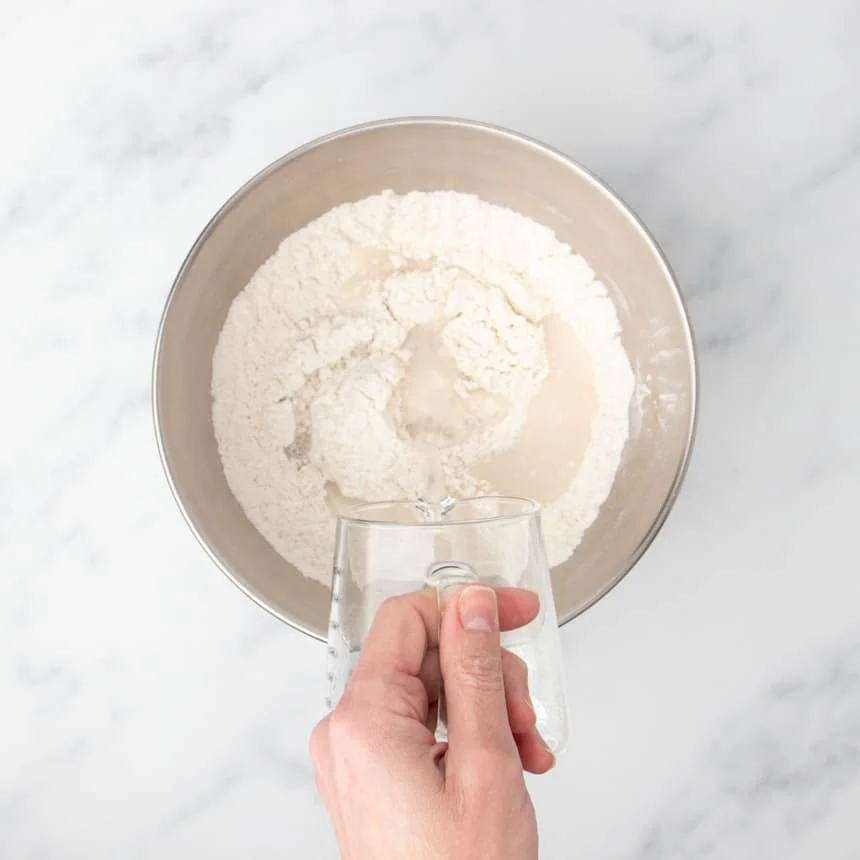
- Water: Hydrates the flour and other dry ingredients, and brings the dough together. Using warm water makes the yeast more active.
How to make gluten free pizza dough
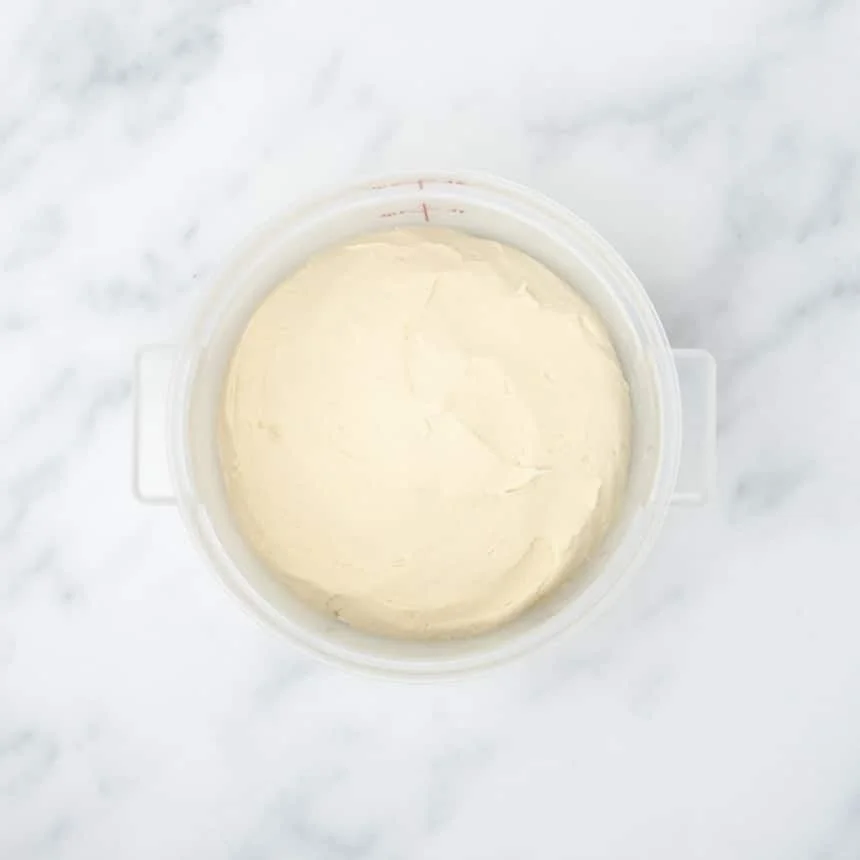
In the bowl of a stand mixer, whisk the gluten free flour blend with xanthan gum, sugar, and salt. Whisk in the yeast. Add warm water and olive oil, and mix with the paddle attachment until the dough starts to stick to the sides of the bowl and looks a bit whipped, about 5 minutes.
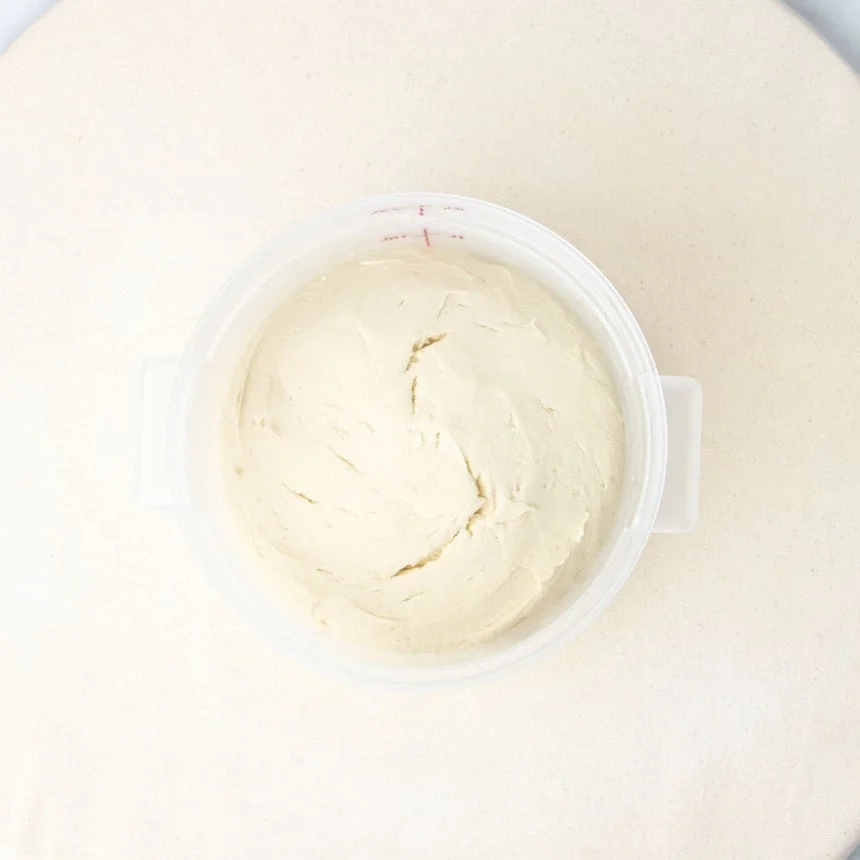
Transfer the dough to a sealed container that has a tight-fitting lid (or a bowl that you cover tightly with plastic wrap), and let it rise for about an hour or until it’s about 50% bigger than when it started (it won’t double), or let it rise in the refrigerator for up to 3 days.
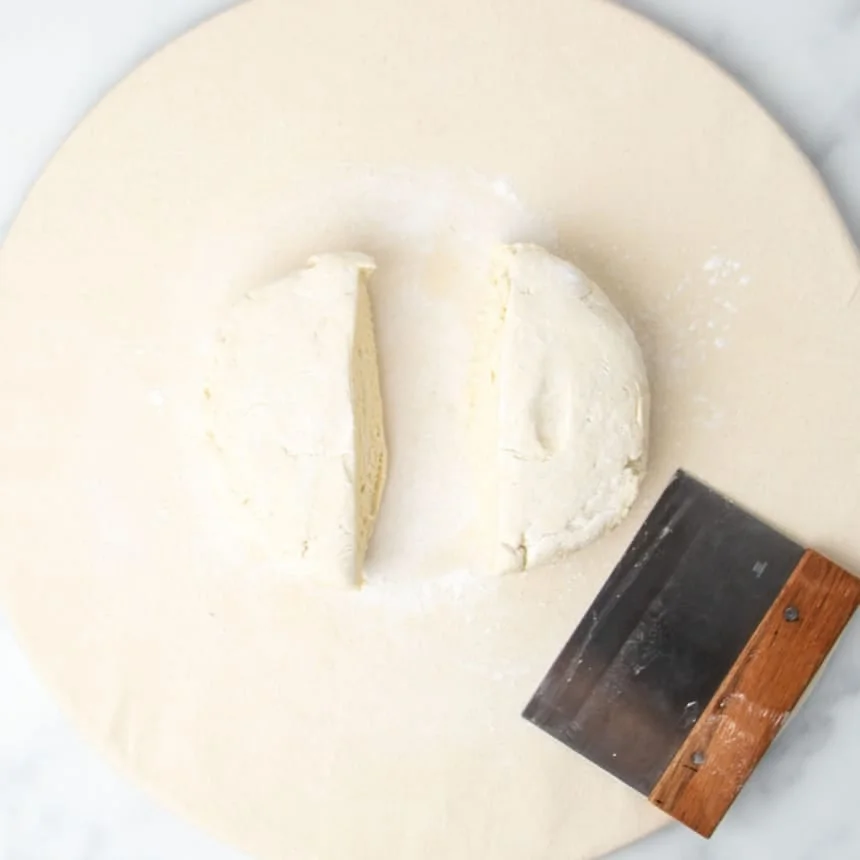
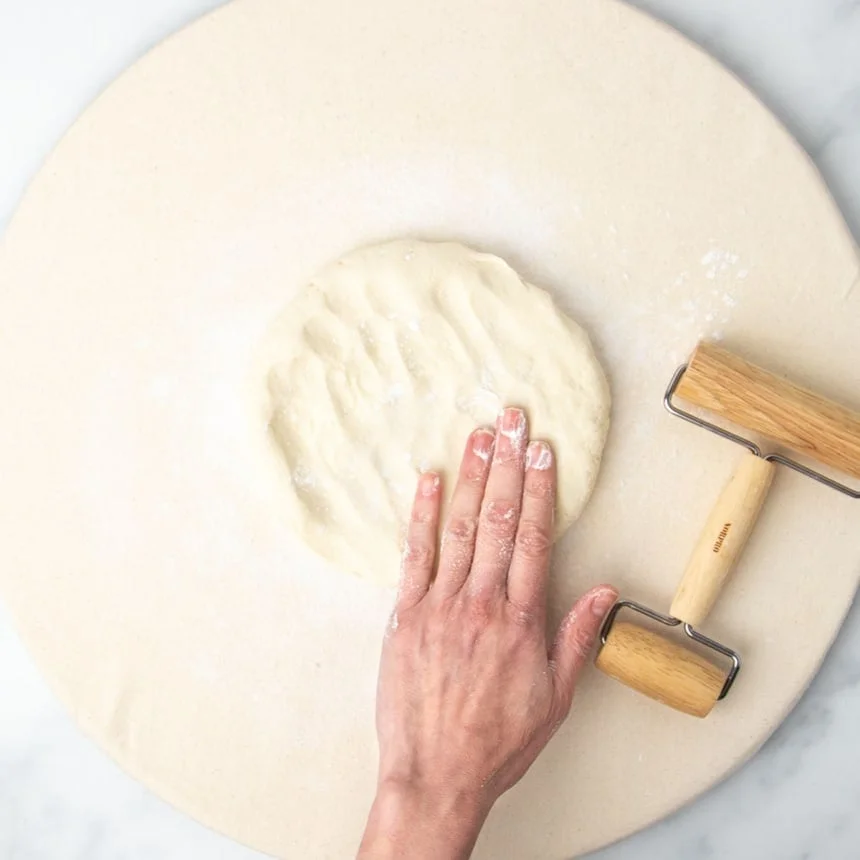
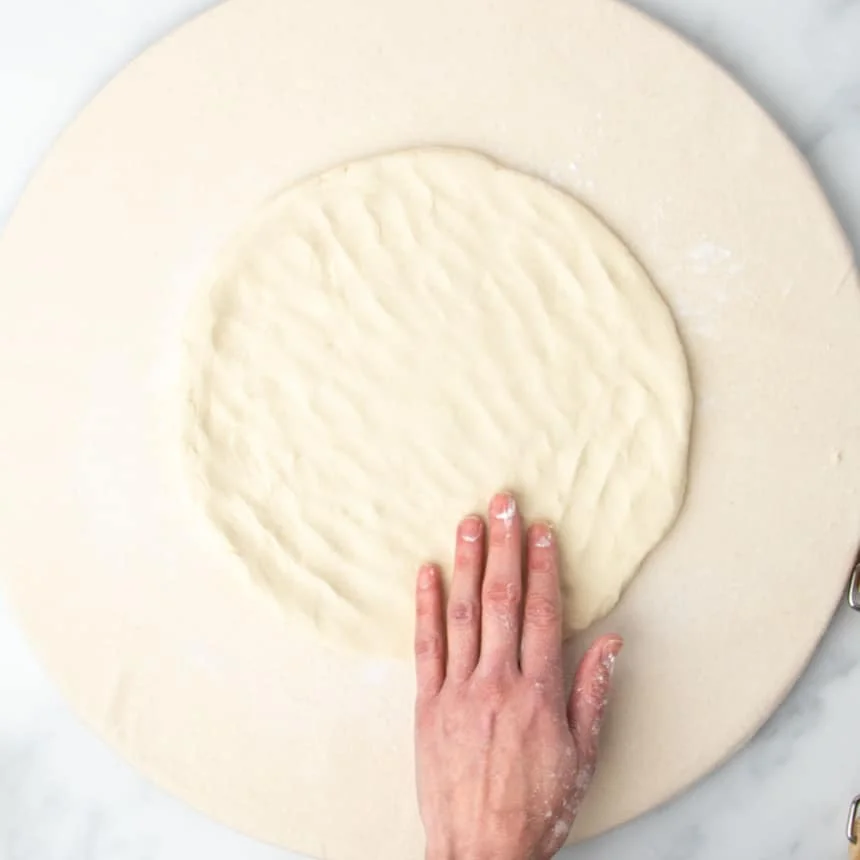
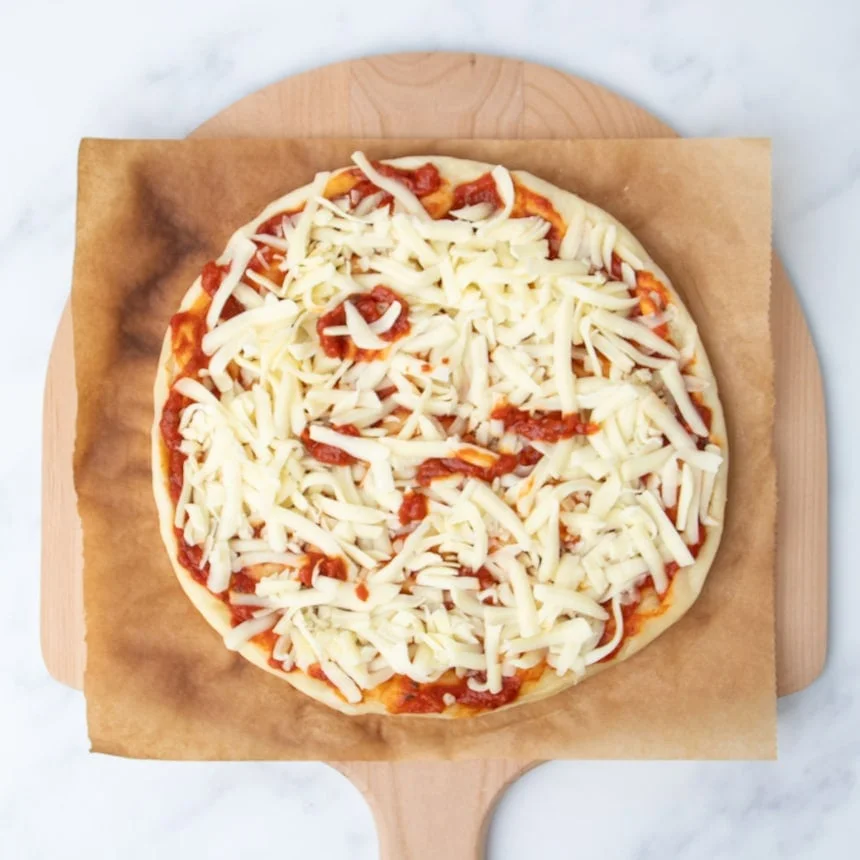
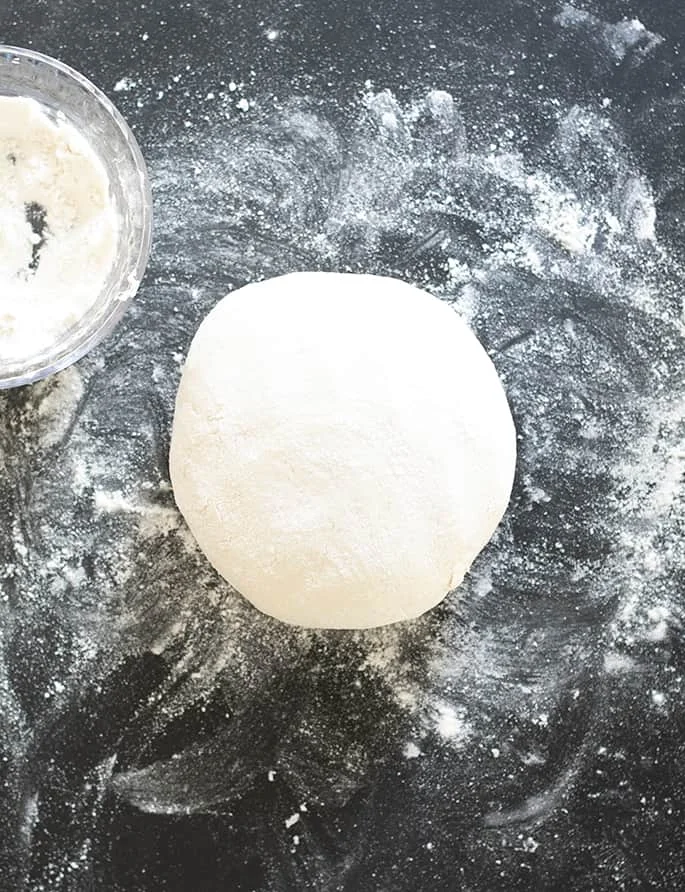
If the dough rose at room temperature, refrigerate it for at least 15 minutes first. Divide it in half, sprinkle it with extra flour, and press it with floured fingers from the center toward the edges into a round about 10-inches in diameter.
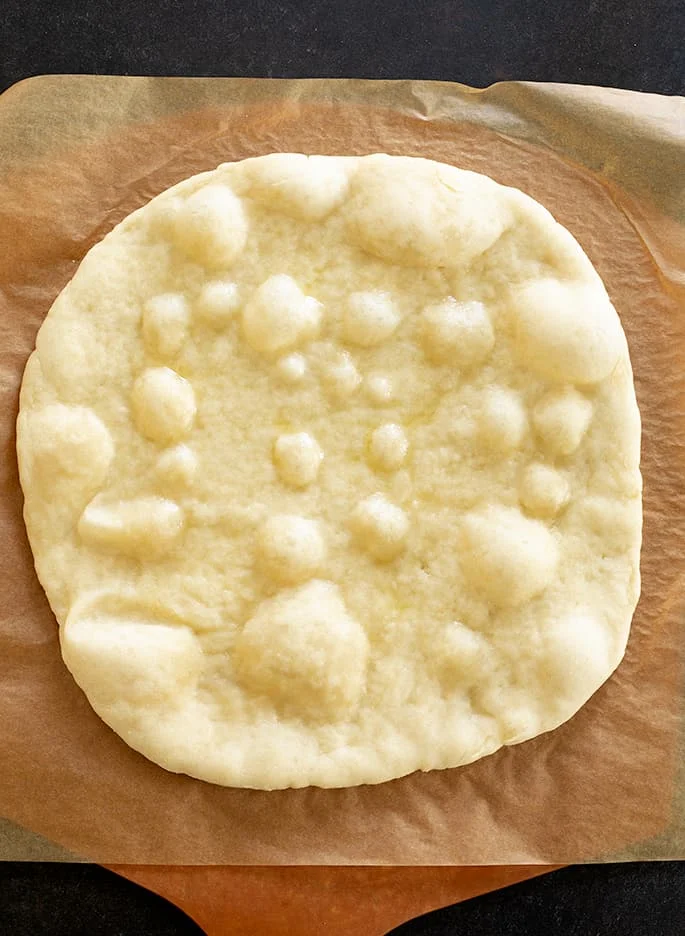
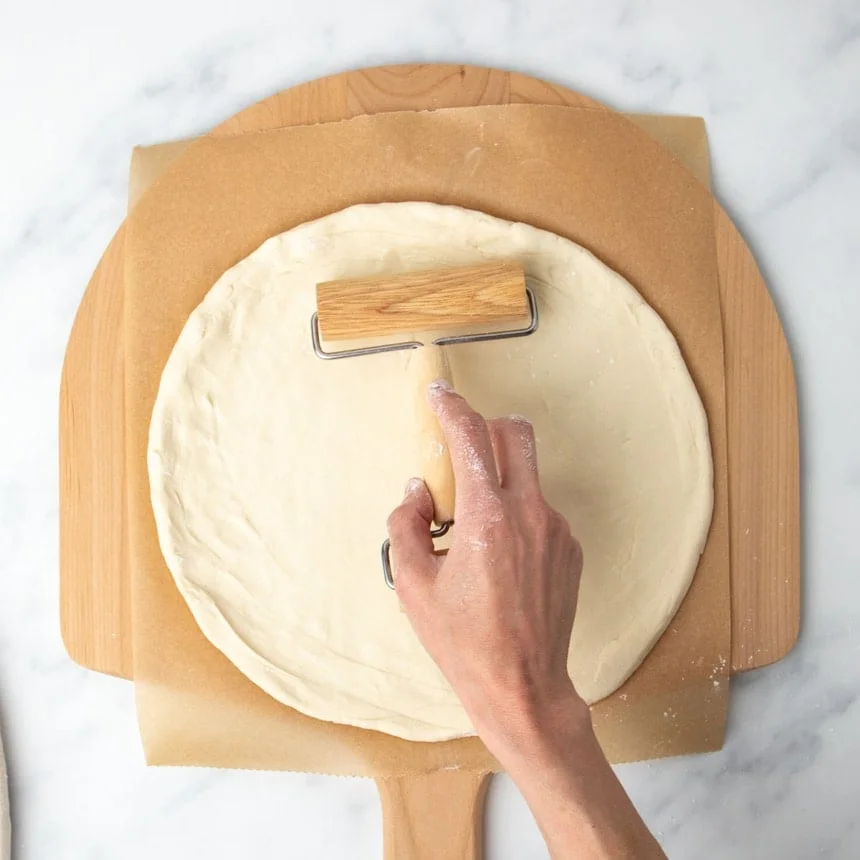
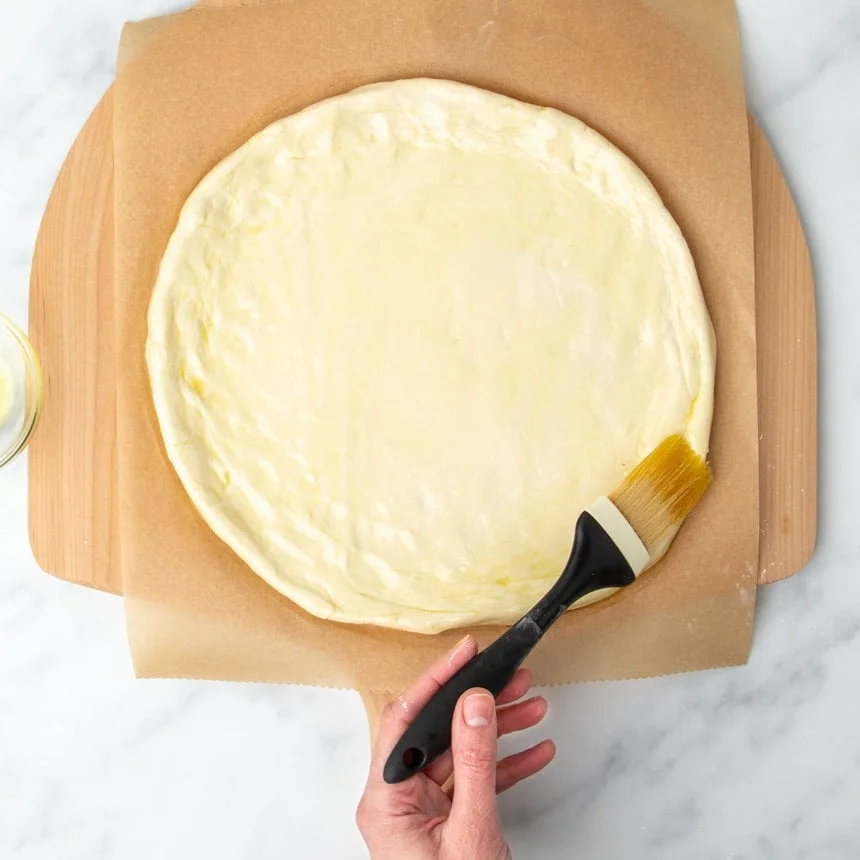
Transfer the dough to a piece of parchment paper on a pizza peel, and use a pizza roller or rolling pin to roll it smooth from the center to the edges. Brush the top and edges of the dough with olive oil and bake for about 5 minutes at 400°F on a pizza stone or overturned baking sheet.
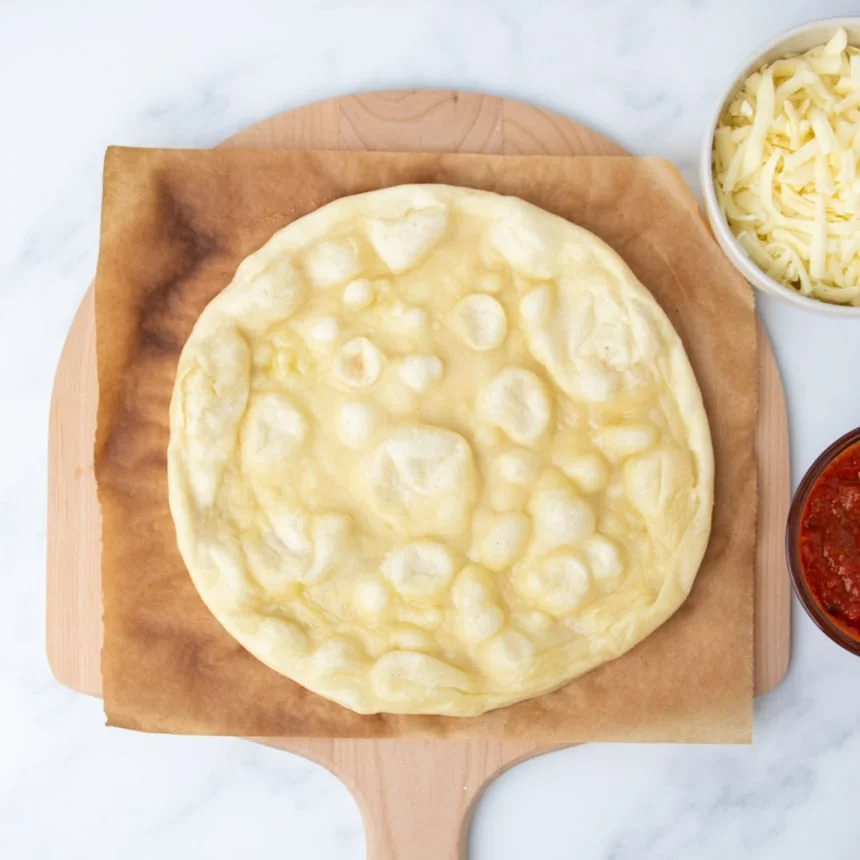
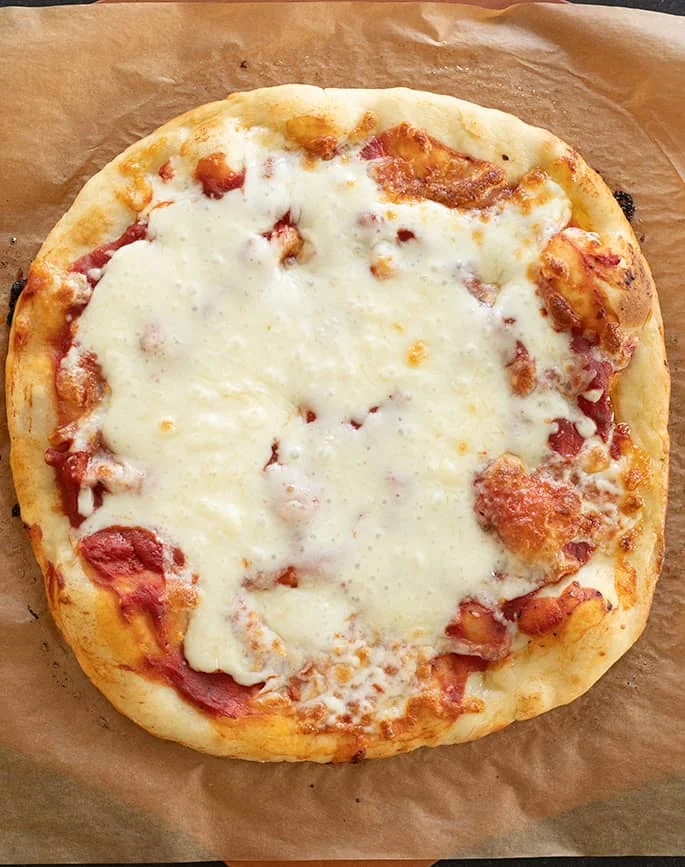
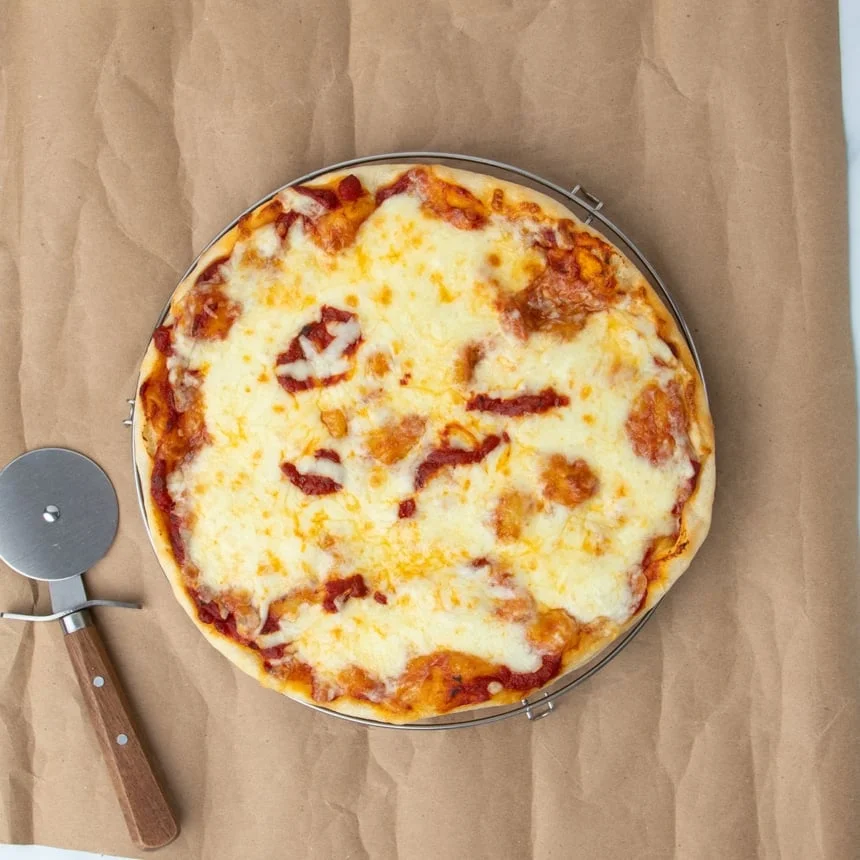
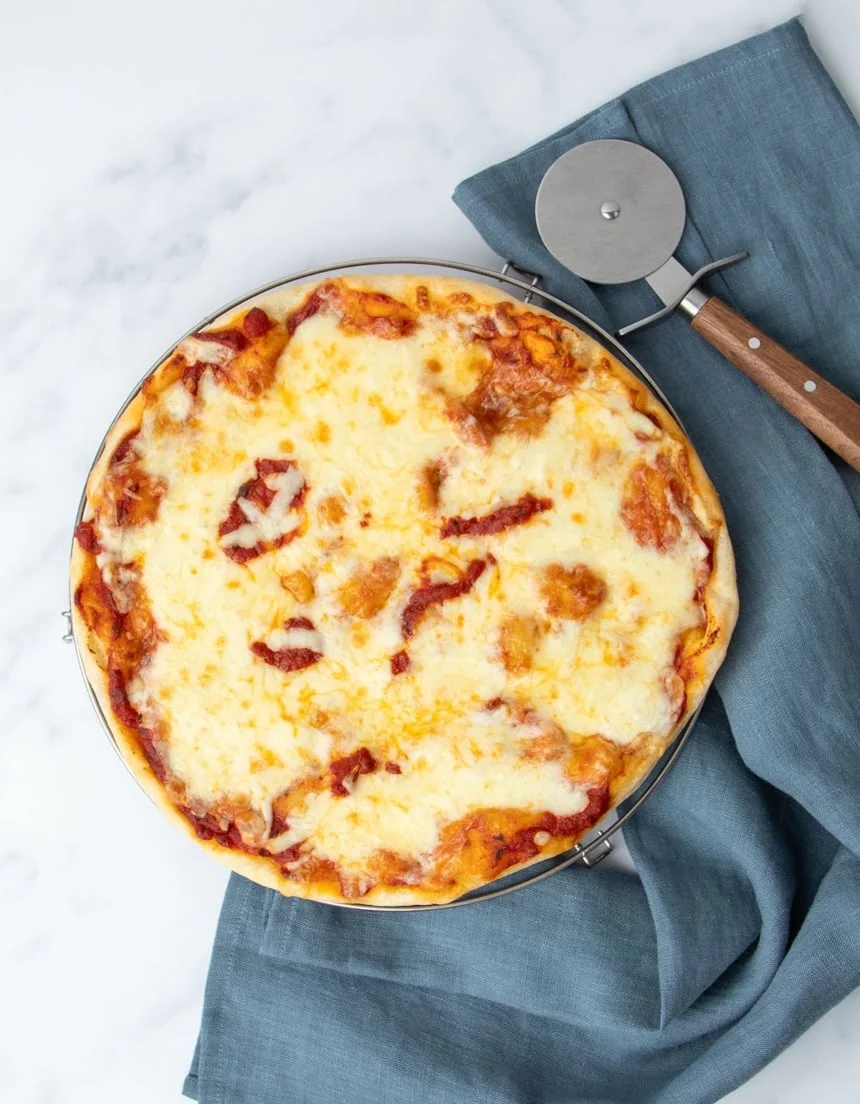
Top the blistered, parbaked dough with tomato sauce and shredded cheese, and bake about 7 minutes more or until the cheese is melted and bubbling and the crust is light brown. Let set briefly, slice and enjoy!
My Pro Tip
Expert tips
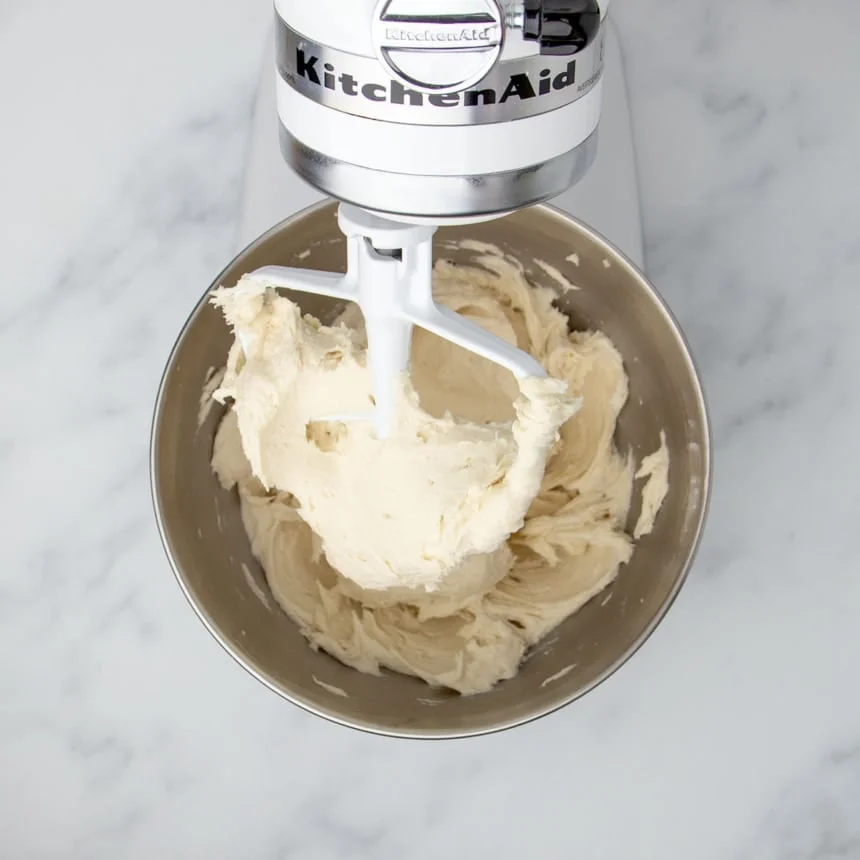
Beat the dough well
The instructions in the recipe card refer to beating the dough in your mixer until it begins to look “whipped” in appearance. The dough will at first come together around the paddle attachment. Keep mixing on a high enough speed, and it will begin to stick to the sides of the bowl and look more aerated. Here’s a short video to show you exactly what it looks like:
Rest the dough in the refrigerator
After you’ve made your raw pizza dough, let it rest in the refrigerator. That allows the flours to absorb the moisture of the water, leaving the dough still hydrated, but making it much less sticky. Cold dough is a lot easier to work with than warm dough, so it’s best to work with it right out of the refrigerator.
Working with sticky dough
If your dough is still a bit sticky because you can’t afford the time to let it rest more, or it’s not cold enough, sprinkle it with more gluten free flour, and handle it with a light touch. You can also oil your hands.
For chewier dough
Try replacing 1/4 cup (36 grams) of the all purpose gluten free flour blend with Expandex modified tapioca starch or regular tapioca starch/flour. Add 1 1/2 fluid ounces more water if you use Expandex (but not if you use regular tapioca starch).
Parbake the crust
Try partially baking (“parbaking”) the risen, chilled and shaped crust at 400°F for 7 minutes. Let it cool, wrap tightly, and use it later in the day or even the next day.

Ingredient substitutions
Dairy free
The pizza recipe itself is already dairy-free. For a dairy-free cheese to use as a topping, I like Daiya, Miyoko’s Creamery, and Violife brands for nondairy mozzarella-style cheese shreds.
Olive oil
Olive oil adds a lot of flavor to the dough recipe, and when brushed on the shaped dough, helps it brown int he oven. You can replace it with your favorite oil, but it will change the flavor.
Yeast
You can’t make this recipe without yeast, If you can’t have yeast, try our gluten free yeast free pizza dough recipe instead.
If you prefer, you can replace instant yeast with active dry yeast, though. Instead of 9 grams of instant yeast, you’ll need 25% more, for a total of about 11 grams, or 3 2/3 teaspoons active dry yeast. Dissolve the active dry yeast first in 1/4 cup of the warm water that the recipe calls for, then add it to the mixing bowl when you add the rest of the water.
Xanthan gum
If your all purpose gluten free flour blend doesn’t already have xanthan gum and you’d prefer to avoid xanthan gum, try using an equal amount of konjac powder. You can buy it on Amazon.
If you’re using Bob’s Red Mill 1-to-1 gluten free flour, you need to add at least another 1 teaspoon of xanthan gum (or konjac powder), since it doesn’t have enough xanthan gum to hold yeast bread together.
To replace xanthan gum with psyllium husk, try 20 grams of psyllium husk powder. First, dissolve it in the water the recipe calls for and allow it to gel, then add it after adding the olive oil.
Easy Gluten Free Pizza Recipe
Ingredients
- 3 cups ( 420 g ) all purpose gluten free flour blend , (See Recipe Notes) plus more for sprinkling
- 3 teaspoons xanthan gum , omit if your blend already contains it
- 1 tablespoon ( 9 g ) instant yeast
- 1 ½ teaspoons ( 6 g ) granulated sugar
- 1 ½ teaspoons ( 9 g ) kosher salt
- 1 ⅛ cups ( 9 ounces ) warm water , (about 95°F) (See Recipe Notes about chewier crust)
- 4.5 tablespoons ( 63 g ) extra-virgin olive oil , (plus more for brushing)
- Your favorite pizza toppings
Instructions
Make the pizza dough.
-
In the bowl of your stand mixer fitted with the paddle attachment or your food processor fitted with the plastic blade, place the flour, xanthan gum, (optional Expandex), yeast, and sugar, and whisk to combine with a separate, handheld whisk. Add the salt, and whisk again to combine well.
-
Add the water and olive oil, and mix on medium speed in your stand mixer or pulse in your food processor until the dough begins to come together.
-
Turn the mixer to high speed or your food processor on and process until the dough is no longer a ball but has begun to appear whipped (about 3 minutes). This is designed to add air to the dough, which will make it easier to handle after chilling, and rise better in the oven.
-
Transfer the dough to an oiled container with a tight-fitting lid or a greased bowl, spray lightly with cooking oil spray, and cover tightly.
-
Place in a warm, draft-free area to rise until it’s about 150% of its original volume (about an hour), or refrigerate the dough for up to 3 days.
-
When you’re ready to make the pizza, place a pizza stone or overturned rimmed baking sheet in the oven and preheat it to 400°F.
-
If you’ve refrigerated the dough, work with it straight from the refrigerator. If you haven’t, place the tightly sealed dough in the refrigerator to chill for at least 15 minutes before working with it, as it’s easiest to work with when it’s chilled.
-
To make pizza, place the dough on a lightly floured surface and sprinkle the top lightly with a bit more flour. Knead the dough gently until it’s smoother and not sticky, then divide it into two equal portions. Cover the unused portion, so it doesn’t dry out.
-
With floured fingers, roll the first piece of dough into a ball and then press it into a disk. Begin pressing the dough from the center toward the edges with floured fingers to create a disk with a raised edge.
-
Continue pressing the dough with floured fingers toward the edge until you have about a 10-inch round. Move the dough frequently, sprinkling with more flour as necessary to prevent sticking.
Bake the pizza
-
Place a large piece of unbleached parchment paper onto the pizza peel or cutting board that you plan to use to transfer the pizza dough to the oven. Lift the dough gently onto the paper on top of the pizza peel.
-
While the dough is on the paper use a small rolling pin or pizza roller to smooth out the dough where there are uneven marks from your fingers. The dough will end up about 11- to 12-inches in diameter.
-
Use a pastry brush or your fingers to paint the top of the dough with olive oil, making sure to coat the edges generously.
-
Transfer the dough to the pizza peel or baking sheet in the preheated oven. Bake the dough plain for 5 to 7 minutes, or until the crust has begun to crisp on the underside.
-
Remove the crust from the oven using a pizza peel or large spatula. At this point, the parbaked crust can be cooled completely, wrapped tightly and frozen for at least one month. Simply defrost at room temperature, and then continue with the recipe as written.
-
To continue preparing the dough, add your favorite toppings to the parbaked crust, and return the pizza to the hot oven until any cheese is melted and the edges have browned and puffed (another 5 to 7 minutes).
-
Remove the pizza from the oven using a pizza peel or large spatula, and allow it to set for 5 minutes before slicing and serving.
Video
Nutrition
Nutrition information is automatically calculated, so should only be used as an approximation.
make ahead/leftovers
Storage instructions
The raw dough will keep in a sealed container in the refrigerator for at least 3 days. It’s best to work with the dough cold, so you’ll shape it right out of the refrigerator.
I don’t recommend freezing raw yeast dough, since it can kill the yeast. Just parbake the shaped crust, let it cool, wrap it tightly, and store it in the freezer for up to 3 months. Defrost at room temperature, top, and finish baking according to the recipe instructions.
Leftover slices of pizza can be wrapped tightly in freezer-safe wrap and refrigerated for up to 3 days. Just unwrap, sprinkle with water, and place in the toaster oven for about 5 minutes at 300°F or until fully refreshed.
FAQs
I’ve only been able to make a smooth dough using a stand mixer with the paddle attachment or a food processor. That’s how you mix the ingredients fully and get a smooth, aerated dough. Some readers have reported being able to make it really vigorously by hand with a Danish dough hook and then kneading it by hand with as little added extra flour as possible.
Yes! Place an overturned rimmed baking sheet in the oven to allow as much air circulation as possible. Or try a perforated pizza crisper.
No, almond flour can never be used as an all purpose gluten free flour blend, so you can’t use it to make this particular gf pizza dough recipe, which has been developed to be made with a rice-based all purpose blend. Try our Paleo pizza recipe instead.
If you’ve added too much gluten free flour blend by not measuring by weight, used a different flour blend that isn’t good quality, or overmeasured the oil you pizza crust can appear crumbly.
If it’s dry and crumbly, try adding more water by the teaspoon until it’s smooth. If it’s dry and oily, try working in more gluten free flour.
This only means that the dough should be fully aerated, and stick to the sides of the mixing bowl as you mix it. It makes the dough much easier to handle, and allow you to roll it smooth when you shape it.
No, that isn’t necessary. The only rise is for the yeast to become active and develop flavor. The rise of the pizza crust itself will be mostly in the oven during the first bake, before you add toppings. As long as your oven is hot enough, you’ll see the crust puff and blister almost immediately.