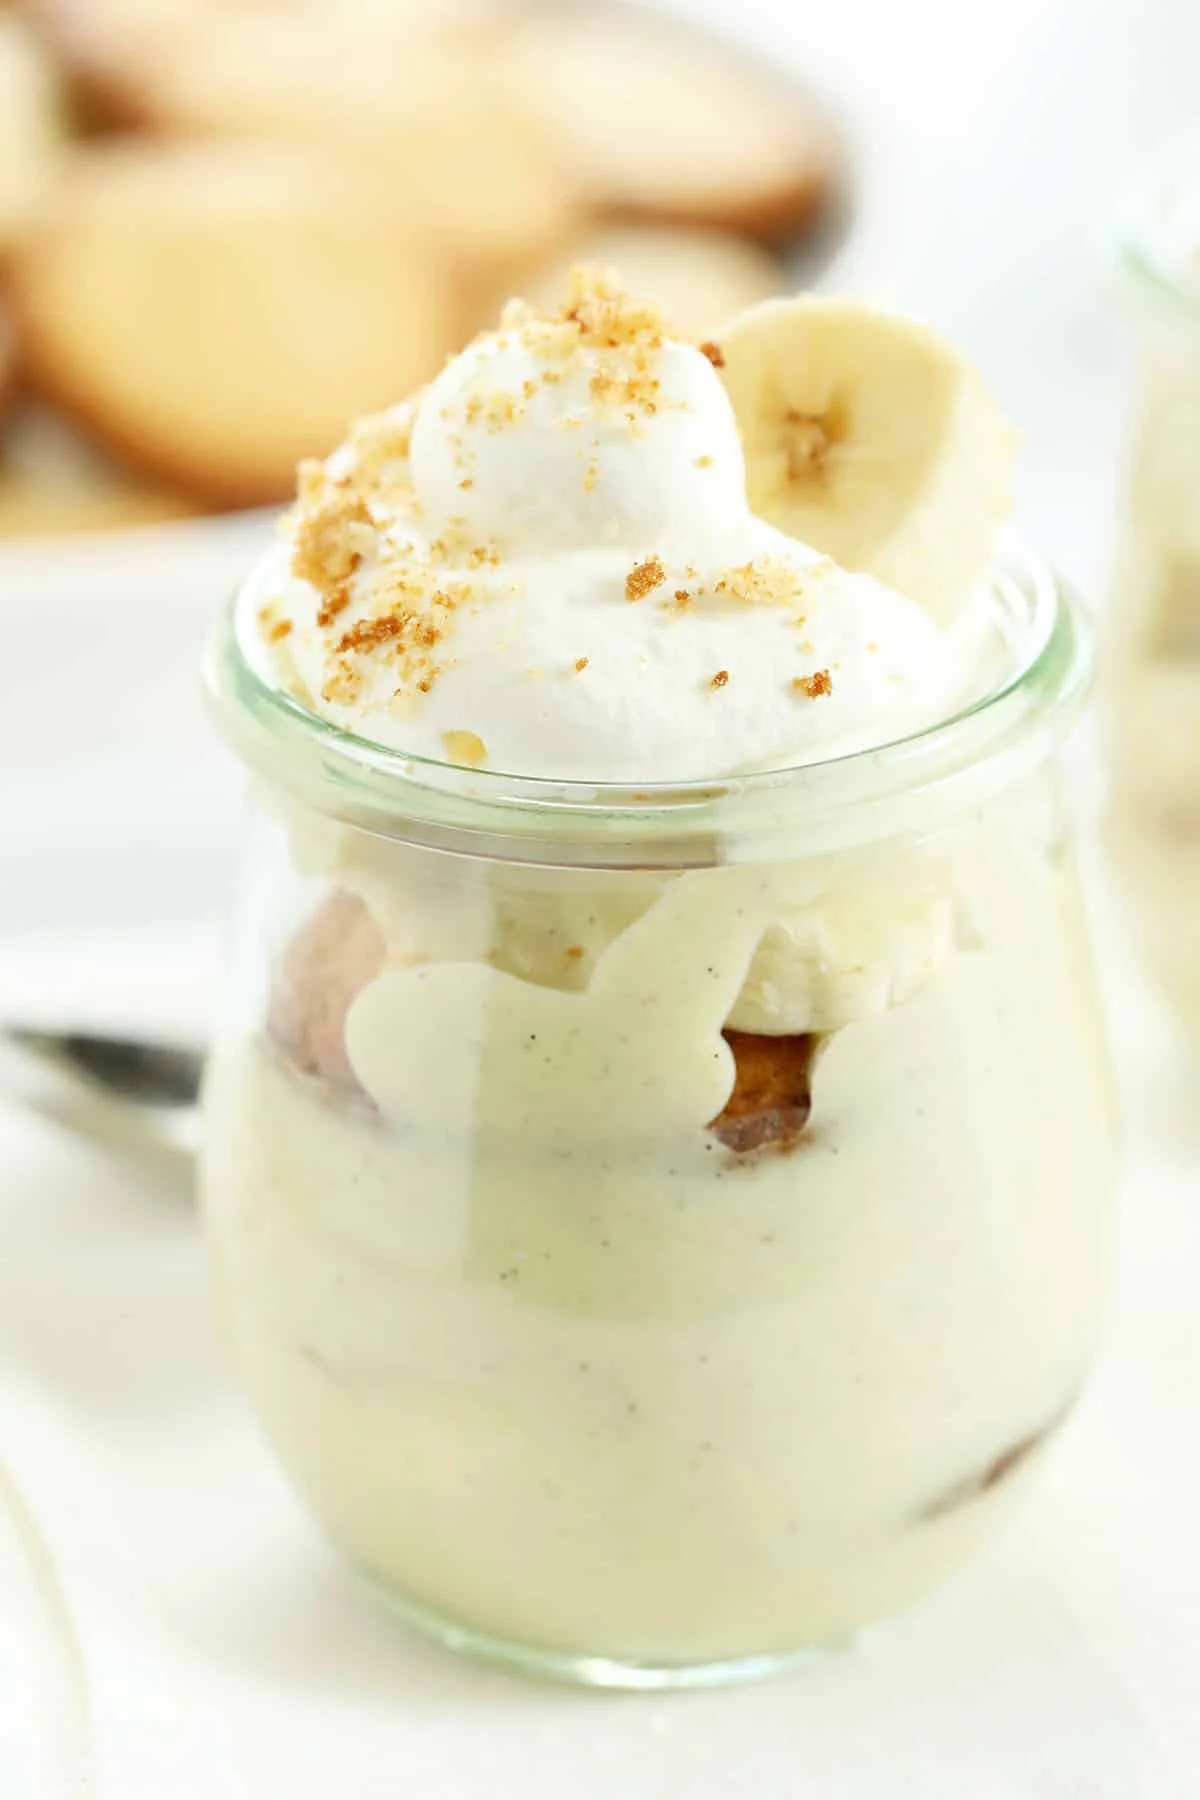
This gluten free banana pudding takes a classic Southern dessert to another level with banana puree cooked right into the smooth, creamy pudding.
It isn’t fussy or fancy, or weird. There’s no cream cheese or instant pudding. But there is intensely banana-y vanilla pudding with lovely light gluten free wafers, sliced banana, and whipped cream.
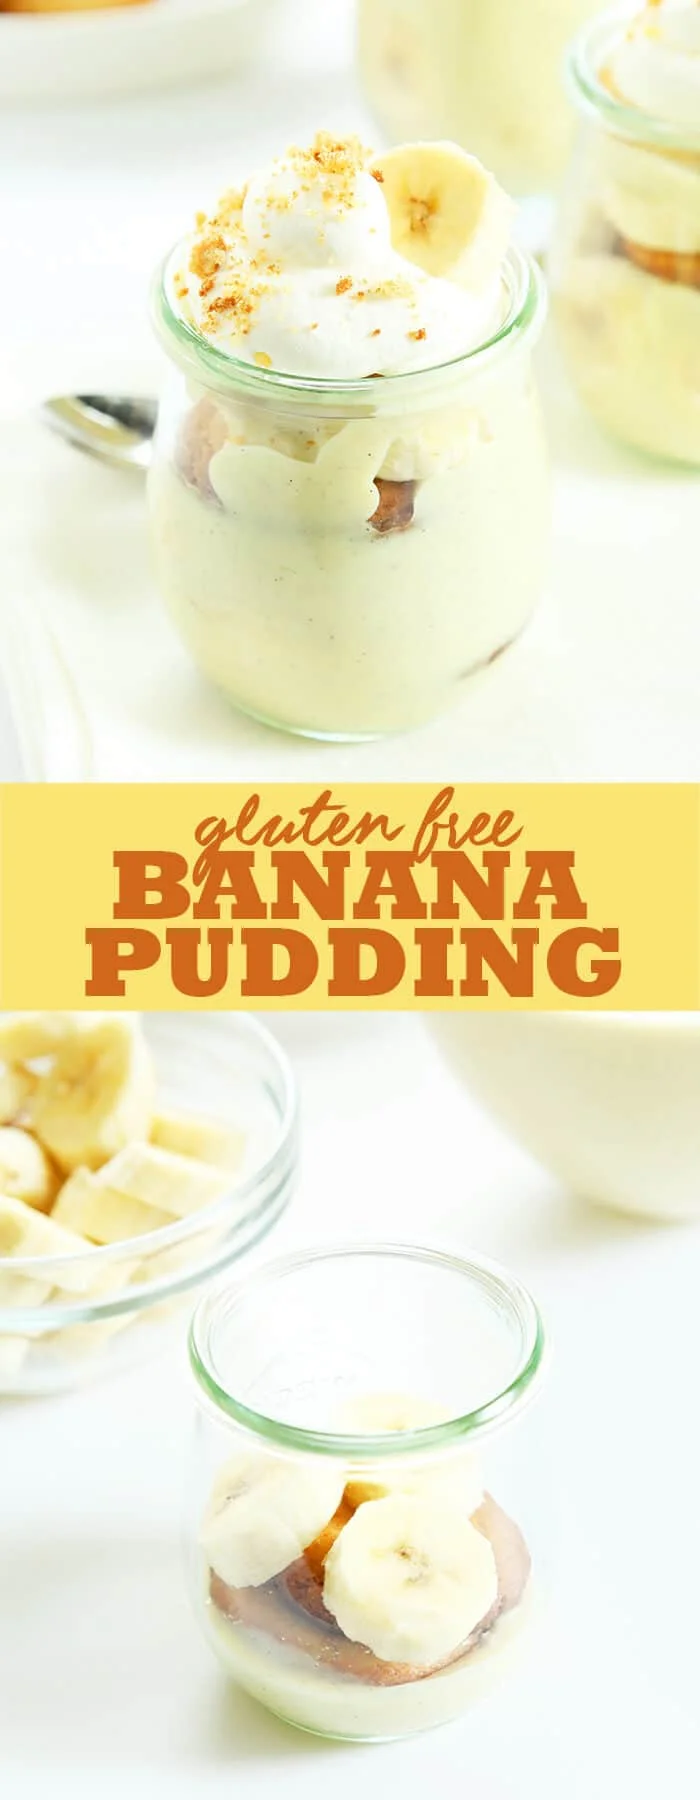
Make your own gluten free vanilla wafers, or use store-bought, for the perfect nostalgic dessert made the gluten free way!
Why this recipe works
I’m not Southern, but I do know banana pudding. I’ve always found the idea of smooth vanilla pudding layered with vanilla wafers and topped with lightly-toasted meringue or fresh whipped cream to be both compelling—and disappointing all at once.
If you’re a Southern belle, hear me out! If you’re going to make something called gluten free banana pudding, shouldn’t it have, well, bananas in the pudding? It should be more than just proximity to bananas that proves the pudding is, indeed, banana. In fact, it should taste like you might imagine a cross between gluten free banana bread and pudding would!
With the puree cooked right into the pudding, the banana flavor really comes alive and is much more satisfying.
Ingredient substitutions
Dairy free
In place of cow’s milk, I recommend unsweetened unflavored almond milk or coconut milk (in the carton, not the can). Make sure your vanilla wafers are dairy-free and use coconut cream whipped cream of leave it out.
Egg free
In place of egg yolks, try using 1/4 cup (30 grams) tapioca starch and 1/4 cup (36 grams) more gum-free gluten free flour blend.
Flour blend
The pudding is mostly thickened like a custard with egg yolks, but we add some flour thicken it further. Instead of cornstarch, which has a tendency to leak moisture in a mixture that is cooked and cooled, I prefer our 3-ingredient gluten free flour blend, without xanthan gum since it will gently thicken, rather than gel, the blend. If you’d rather not use a blend, superfine sweet white rice flour, also known as gluinous rice flour, works well, too.
Vanilla wafers
Vanilla wafers are the traditional, but you could use any crispy cookie, like my gluten free shortbread cookies, gluten free gingersnaps, or even make gluten free graham crackers in rounds rather than in rectangular crackers.
Expert tips
This recipe for banana pudding with whipped cream or meringue is pretty simple, but there are still a few things that can go wrong. So follow these tips for the best banana pudding recipe that’s sure to impress the whole family.
Blend until smooth
Make sure you blend the granulated sugar, egg yolks, sliced bananas, milk, flour, and salt until completely smooth. You don’t want a lumpy pudding mix!
Use gentle heat
Don’t let the vanilla extract and milk mixture boil or catch. You only want it to reach a simmer.
Be patient
When adding the milk to the flour and egg yolks, go slowly! The idea is to temper the egg yolks by warming them gradually with the warm, but not burning hot, vanilla and milk mixture. Go too fast, and you’ll end up with a split, curdled mess.
Trust the banana pudding process
Don’t keep the pudding mix on the heat too long. It will thicken a little as it cooks, but it’ll continue to thicken as it cools, too, so don’t worry if it’s not as thick as you’d like when you take it off the heat. Stick to the timing in this recipe for the best banana pudding, and you can’t go wrong.
Prevent a skin with this easy banana pudding hack
To stop your banana pudding forming a skin, transfer the hot mixture to a new heatproof bowl and cover the pudding mix with plastic wrap.
Let the plastic wrap sit right on top of the banana pudding, actually making contact with the surface of the pudding mix. This prevents a skin setting up on top of your banana pudding. Unless you’re one of those strange people who like pudding skin, of course!
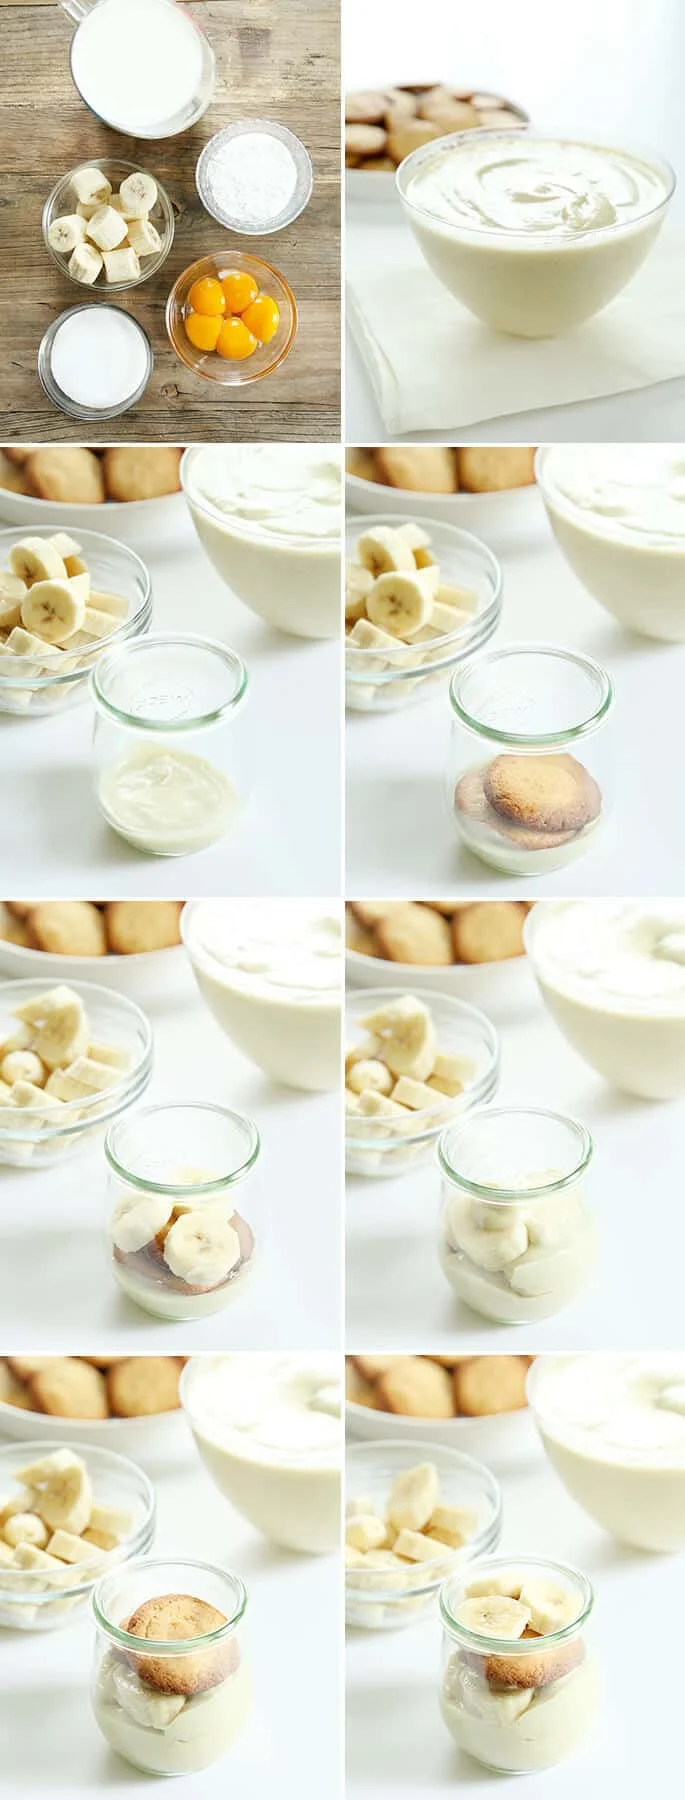
Make banana pudding layers
While you can have big, thick layers of each ingredient, I like to make my gluten free pudding look a little prettier, by assembling it in lots of thin layers.
Plus, with lots of thin layers, you can hide a layer of chocolate chips, peanuts, or even some crunchy peanut butter among the layers of sliced bananas, gluten free vanilla wafers (or gluten free shortbread cookies), and smooth, banana pudding mix.
Chill before you top
You can chill the pudding mixture cooked but unassembled, or fully assembled but not topped. Whichever you choose, just make sure that you let the pudding mixture chill completely before you add whipped cream.
If your pudding is warm when you add whipped cream, the cream will melt and split and generally create a mess. Ideally, only add whipped cream before you serve. And if you want to keep your toasted meringue pieces nice and crunchy, only add those when you’re ready to serve.
Classic Gluten Free Banana Pudding Recipe
Ingredients
- ½ cup ( 100 g ) granulated sugar
- 5 ( 125 g ) egg yolks
- 5 ( 500 g, peeled ) ripe bananas , sliced into 1/4-inch thick disks (See Recipe Notes)
- 4 cups ( 32 fluid ounces ) milk , (any kind, just not nonfat)
- 7 tablespoons ( 61 g ) basic gum-free gluten free flour blend , (40 g superfine white rice flour + 13 g potato starch + 8 g tapioca starch/flour) (or try an equal amount of superfine sweet white rice flour)
- ⅛ teaspoon kosher salt
- 1 vanilla bean or 2 teaspoons pure vanilla extract
- 24 homemade gluten free vanilla wafers , or store-bought
- Whipped cream , for serving
Instructions
-
In a blender, place the sugar, egg yolks, 2 of the sliced bananas (200 g), 1/2 cup (4 fluid ounces) of the milk, the flour and the salt.
-
Blend until very smooth. Transfer the mixture to a medium-size, heat-safe bowl and set it next to the stove.
-
In a large saucepan over medium heat, bring the remaining milk and vanilla bean (or vanilla extract) to a simmer. Remove the pan from the heat.
-
If using a vanilla bean, remove it from the milk and, using a sharp knife, slice it halfway through the length to expose the vanilla seeds. Scrape the vanilla seeds into the milk and whisk to combine.
-
In a slow trickle and while whisking the flour and yolk mixture constantly, pour about 2 cups of the warm milk mixture to the bowl with the egg yolk mixture. This tempers the egg yolks by warming them slowly, so they don’t clump and curdle.
-
Pour the mixture back into the saucepan with the remaining milk. Whisking constantly, bring the mixture to a boil over medium-low heat.
-
Continue to cook, still whisking constantly, for 3 minutes. The pudding will thicken as it cooks, and will thicken more as it cools.
-
Pour the pudding into a separate, heat-safe bowl and cover immediately with a plastic wrap that rests right on the surface of the pudding to prevent a skin from forming.
-
Allow to cool until no longer hot to the touch. At this point, the pudding can be refrigerated for up to 4 days before assembling the banana pudding. Avoid assembling until you’re nearly ready to serve, with just enough time for the final 1-hour chilling.
-
In 4 to 6 separate small containers, or one large container, place a thin layer of pudding, followed by a layer of wafers, then a layer of banana slices.
-
Repeat the pudding-wafer-banana slices pattern until you reach the top of the container.
-
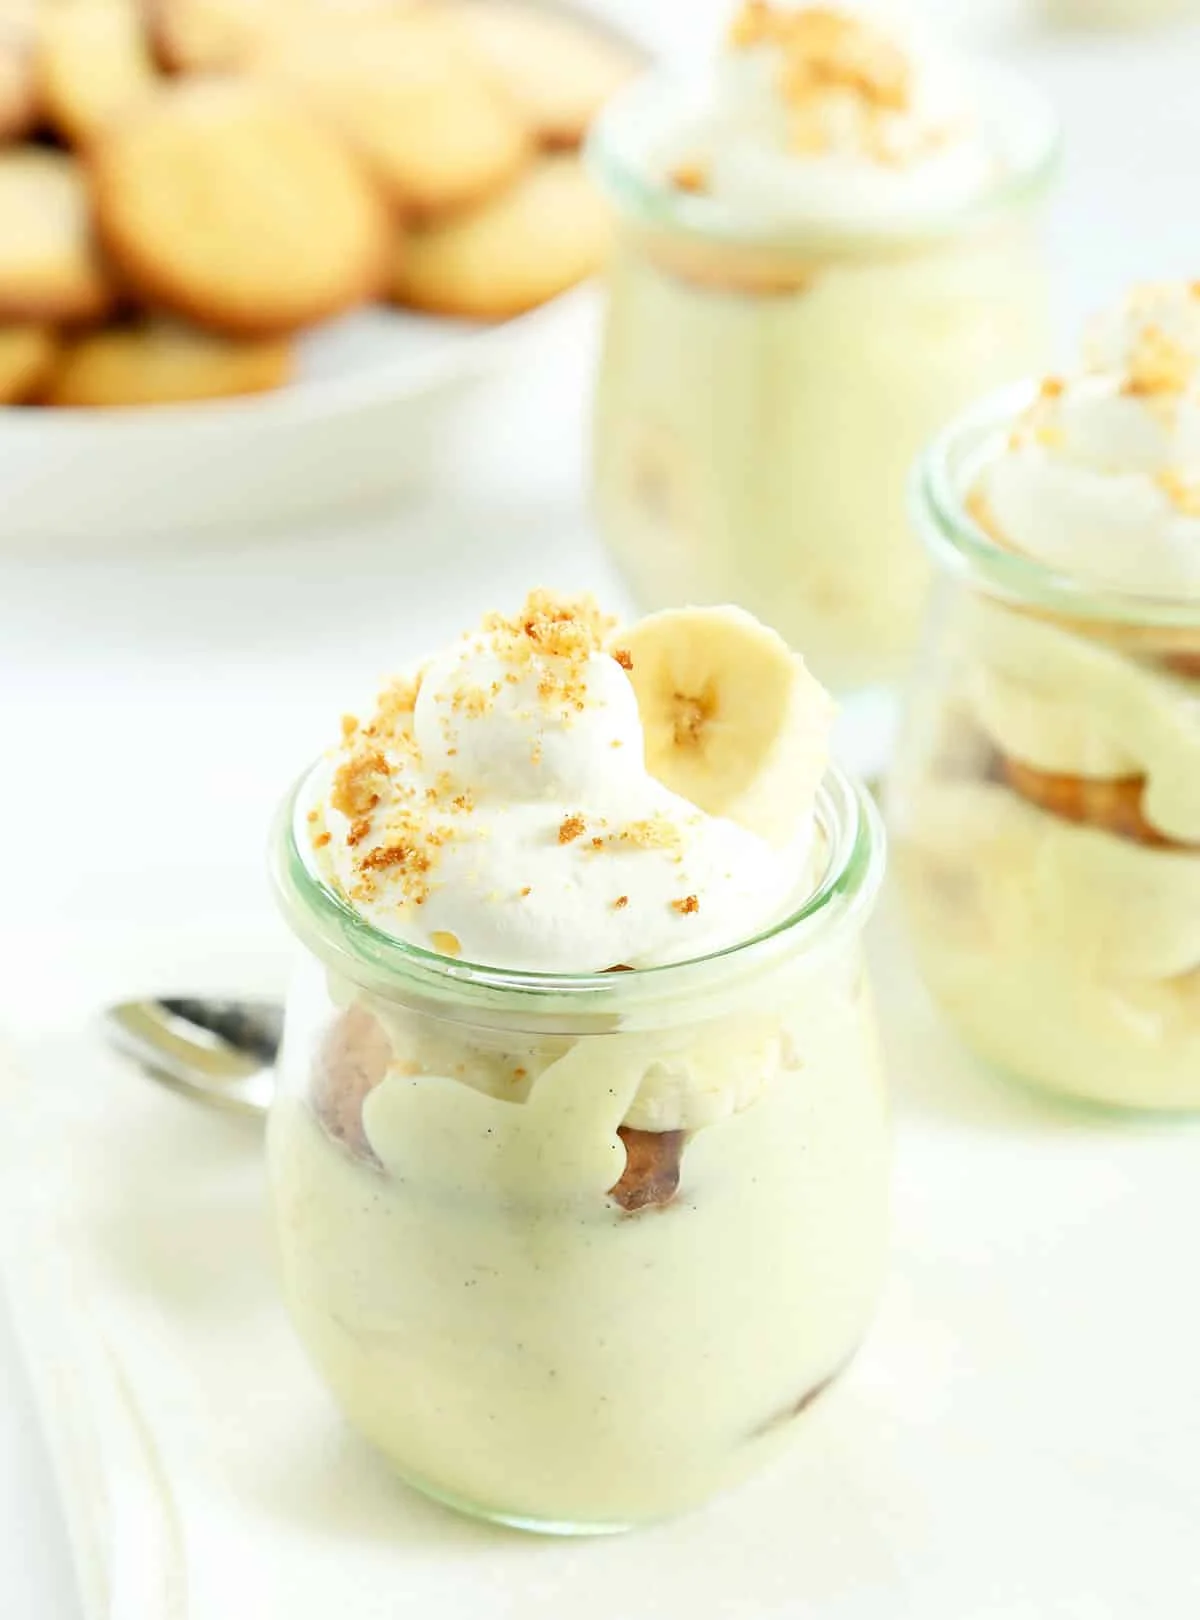
Refrigerate the mixture until chilled, at least one hour. Top with whipped cream before serving.
Nutrition information is automatically calculated, so should only be used as an approximation.
Storage instructions
You can store the pudding mixture in the refrigerator for up to four days before serving. For the best results, don’t add the topping until you’re ready to serve.
What to do with those leftover egg whites
If you’re wondering what to do with the 5 egg whites you have after separating out the yolks, instead of topping your gluten free banana pudding with fresh whipped cream, here are some suggestions:
- Make a meringue like we did in our lemon meringue pie in jars.
- Make gluten free ladyfingers, which call for 4 egg whites, total
- Our recipe for gluten free angel food cake calls for about 12 egg whites, so maybe double your pudding recipe!
- Make a couple loaves of the perfect, easy gluten free white sandwich bread, since each calls for 2 egg whites.