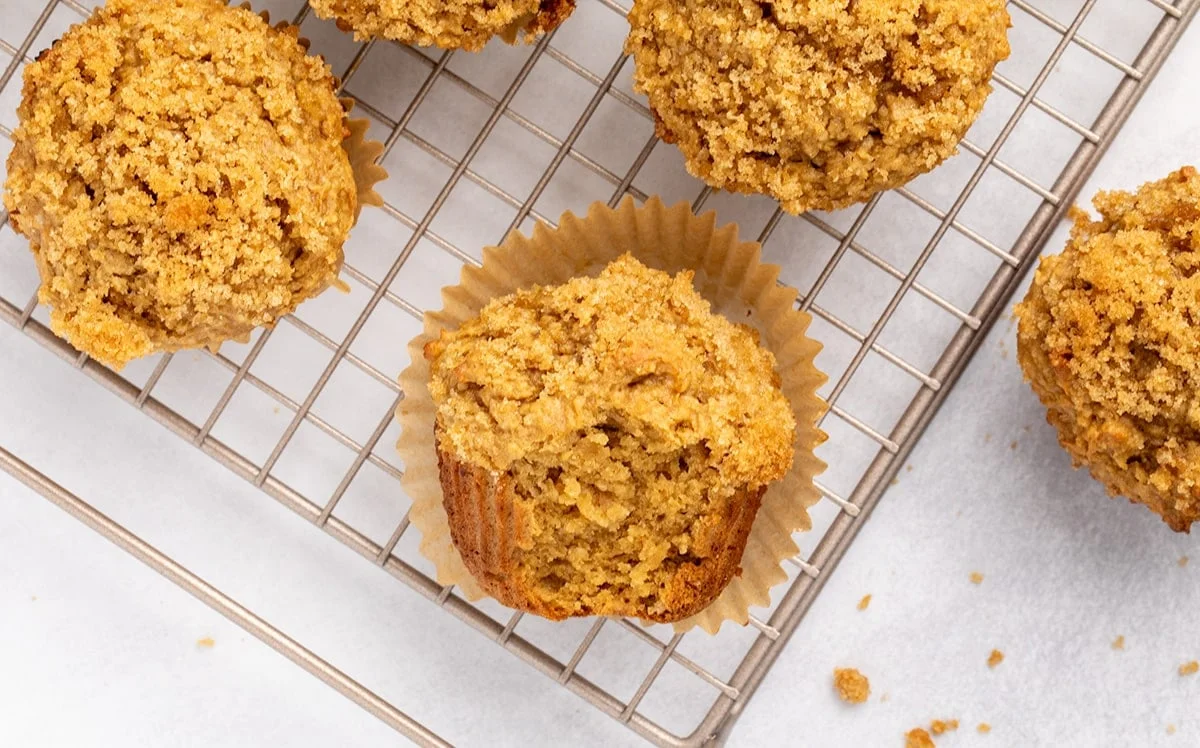
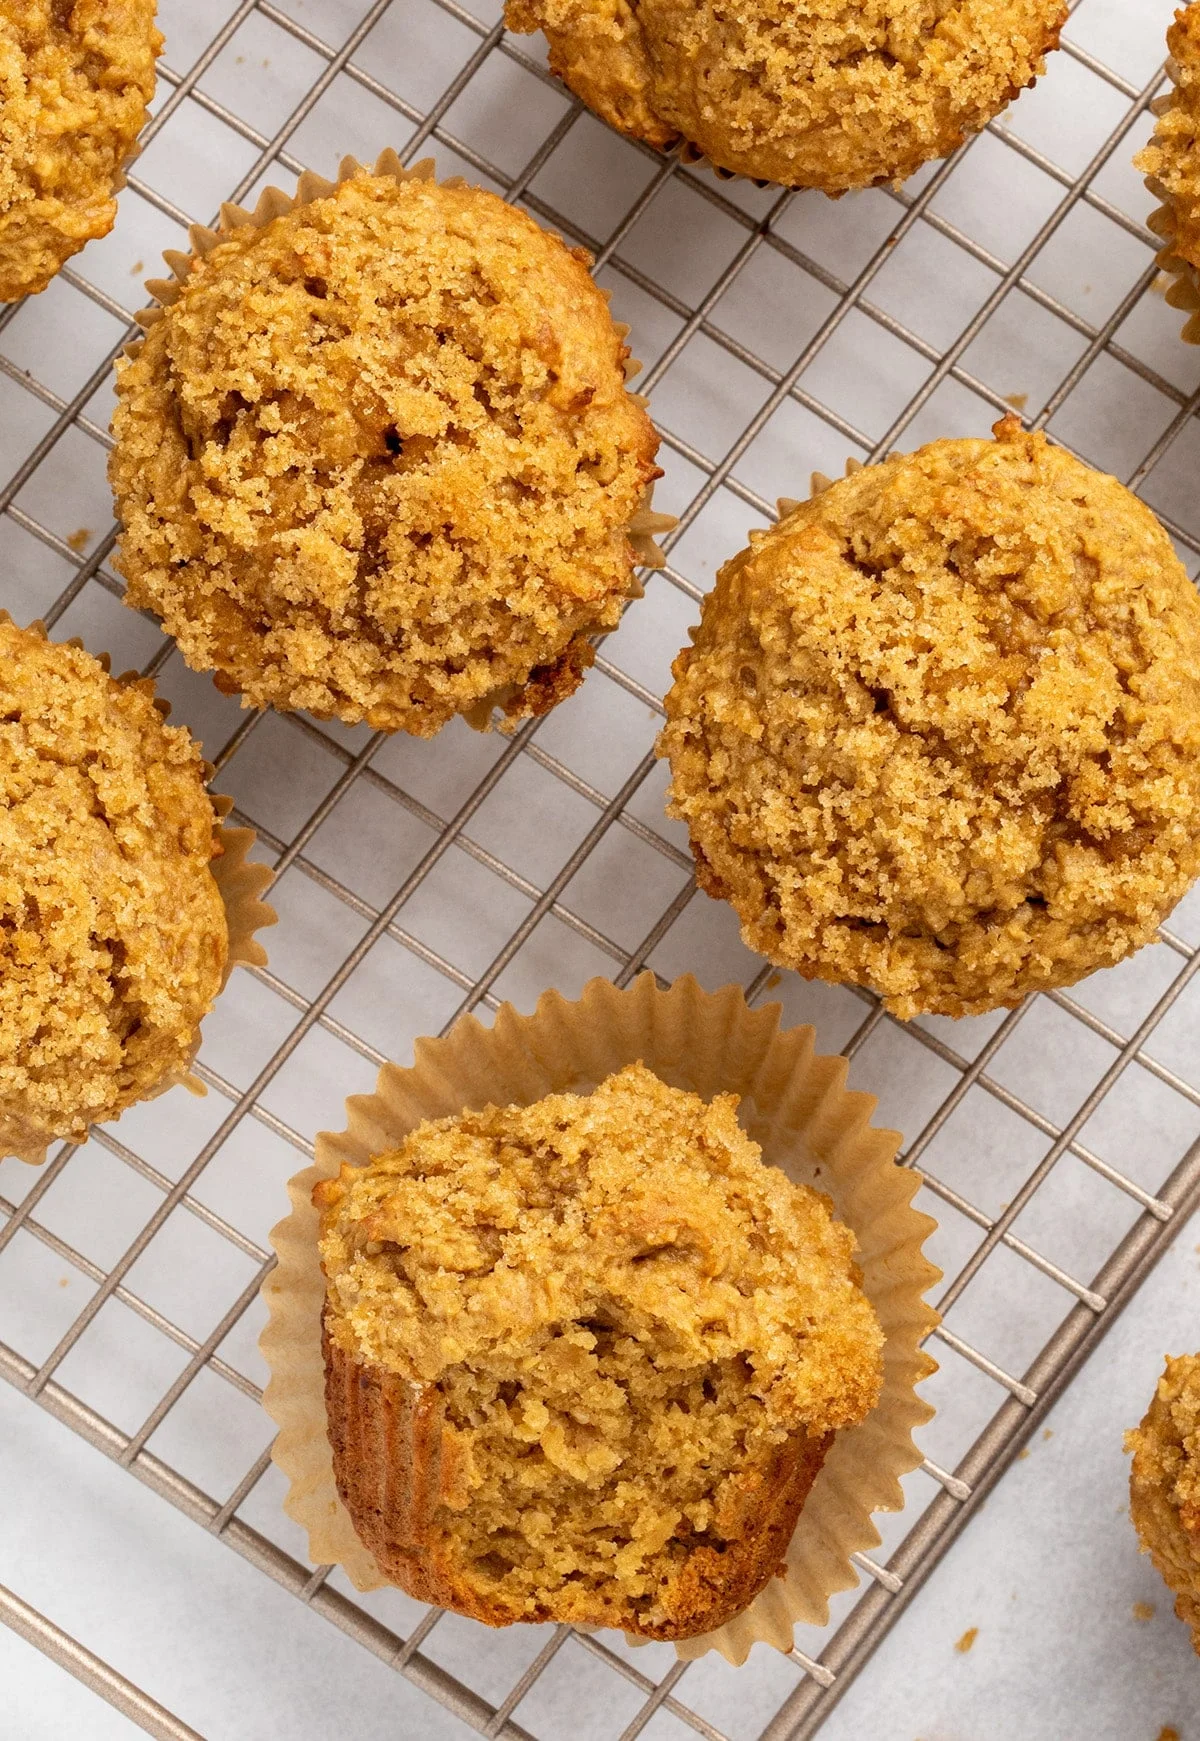
These gluten free bran muffins are tender and satisfying, with the rich taste of honey and molasses. Made with a blend of gluten free flour and chewy oat bran.
Why this recipe works
These muffins are hearty and satisfying, with a tender, chewy crumb and the complex, earthy sweetness of molasses and honey.
I grew up in the 80s when bran was a very big deal. So was margarine, though, so you can’t win them all. Made with about half all purpose gluten free flour and half bran, these muffins are relatively high in fiber, and keep you nice and full.
Oat bran has more soluble fiber than wheat bran, and wheat bran has more insoluble fiber, so it’s better for digestion. The gluten free oat bran I buy says “hot cereal” on the label, but it’s just small oat bran flakes.
Recipe ingredients
Here are the ingredients you’ll need to make these cookies with a brief explanation of the purpose of each:
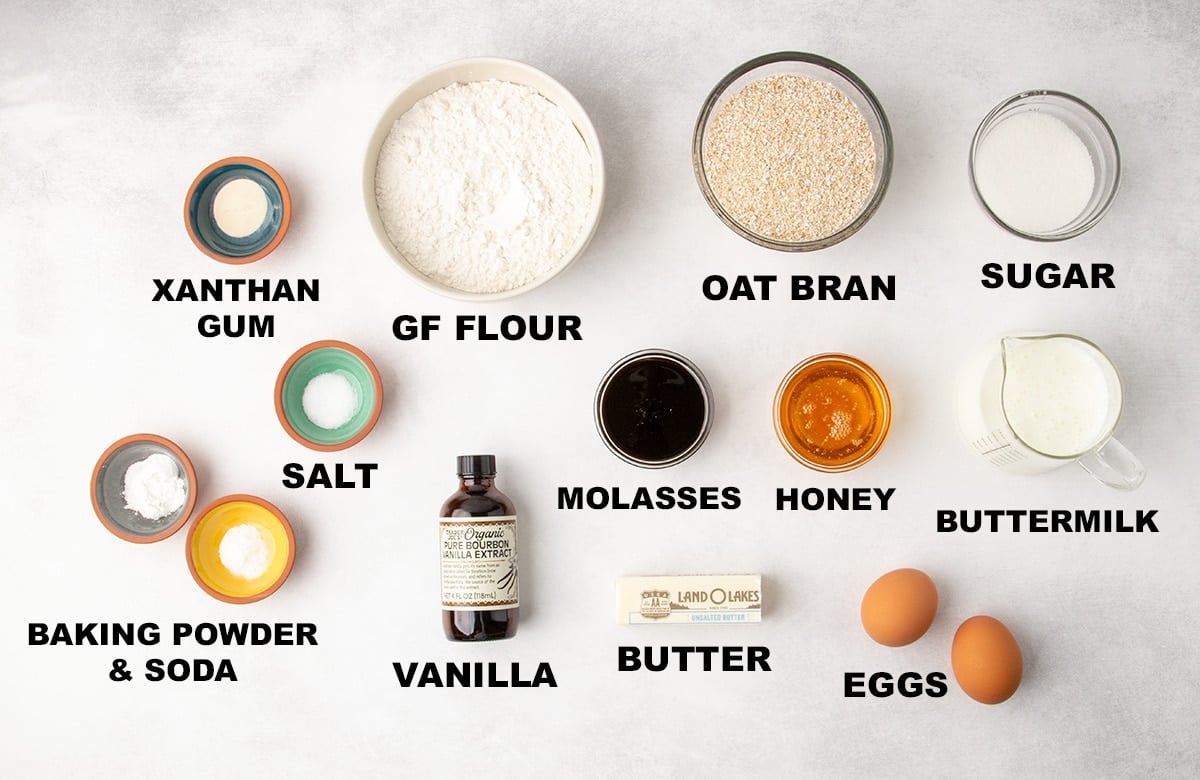
- Gluten free flour: Is more effective than oat bran at creating structure for the muffins, so a good quality blend is really important here. My favorite blends are Better Batter’s classic blend and Nicole’s Best multipurpose with added xanthan gum.
- Oat bran: The fibrous outer layer of the oat groat, it’s rich in soluble fiber. It’s very chewy, and absorbs a lot of moisture. I used to make these muffins with rice bran, which is the outer layer of brown rice grains, but it’s no longer widely available. I now use Bob’s Red Mill’s oat bran hot cereal, which is relatively easy to find. Just be sure to choose the bag that clearly says it’s “gluten free.”
- Xanthan gum: Without a binder like xanthan gum, most gluten free baked goods would be unpleasantly crumbly. To help these muffins rise tall, even if you’re using a blend like Better Batter that already contains an appropriate amount of xanthan gum, you’ll add 1/2 teaspoon more xanthan gum. If you’re using Nicole’s Best, which contains no gum, add 1 teaspoon. Bob’s Red Mill 1-to-1, which should also work here, contains some gum but not enough, so add 3/4 teaspoon more.
- Baking powder and baking soda: Help the muffins rise and brown in the oven. Be sure yours is fresh.
- Salt: Brightens the other flavors.
- Buttermilk: Brings the batter together with moisture, reacts with the baking soda to create rise, and adds a flavorful tang. Do not use milk (even if it’s been soured with lemon juice) in its place, which contains too much moisture. Instead, try 1/2 cup sour cream or plain Greek-style yogurt + 1/2 cup milk. You can also use 1 cup plain kefir.
- Molasses: Adds color, moisture, flavor and earthy, caramel-like sweetness.
- Honey: Adds moisture, flavor and a gentle floral sweetness.
- Vanilla: Adds depth of flavor.
- Eggs: Add rise and structure that holds as the muffins cool after baking.
- Butter: Adds moisture, buttery flavor, and tenderness to the crumb. When creamed with the sugar, adds air to the batter.
- Granulated sugar: Adds sweetness and tenderness by locking moisture in the muffins.
- Light brown sugar (not pictured): Sprinkling the raw batter in each well with about 1 teaspoon of light brown sugar adds some extra flavor, sweetness and even texture as some of it becomes crunchy after melting and cooling. It’s optional.
How to make gluten free bran muffins (with step by step photos)
The full recipe with ingredient amounts is in the recipe card below. This overview is to help you envision how to make them in your own kitchen:
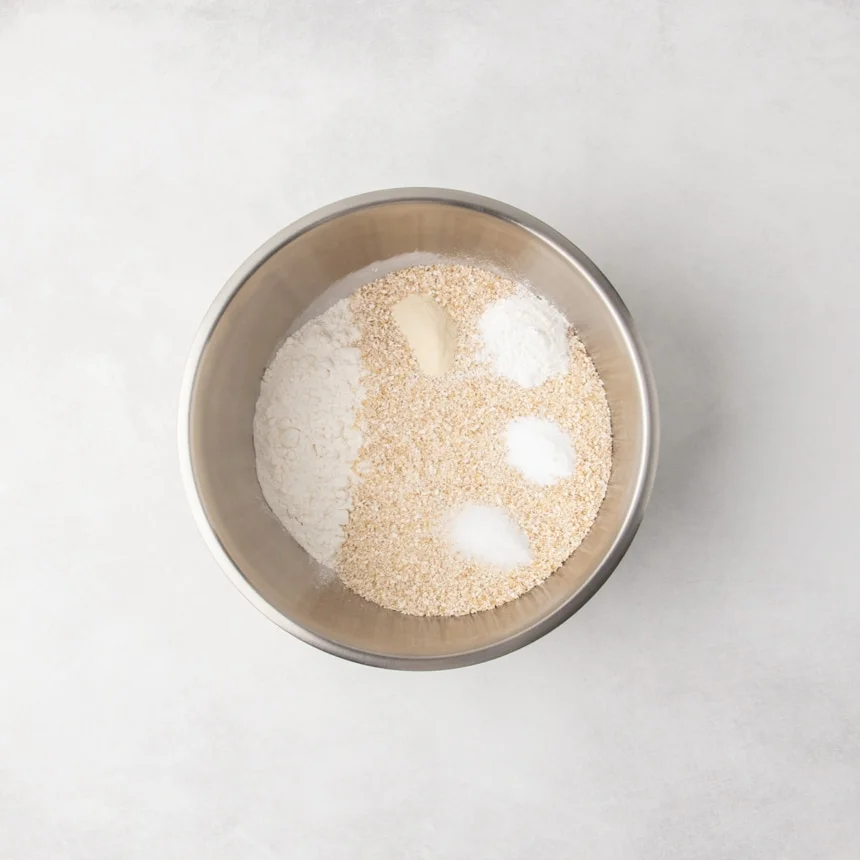
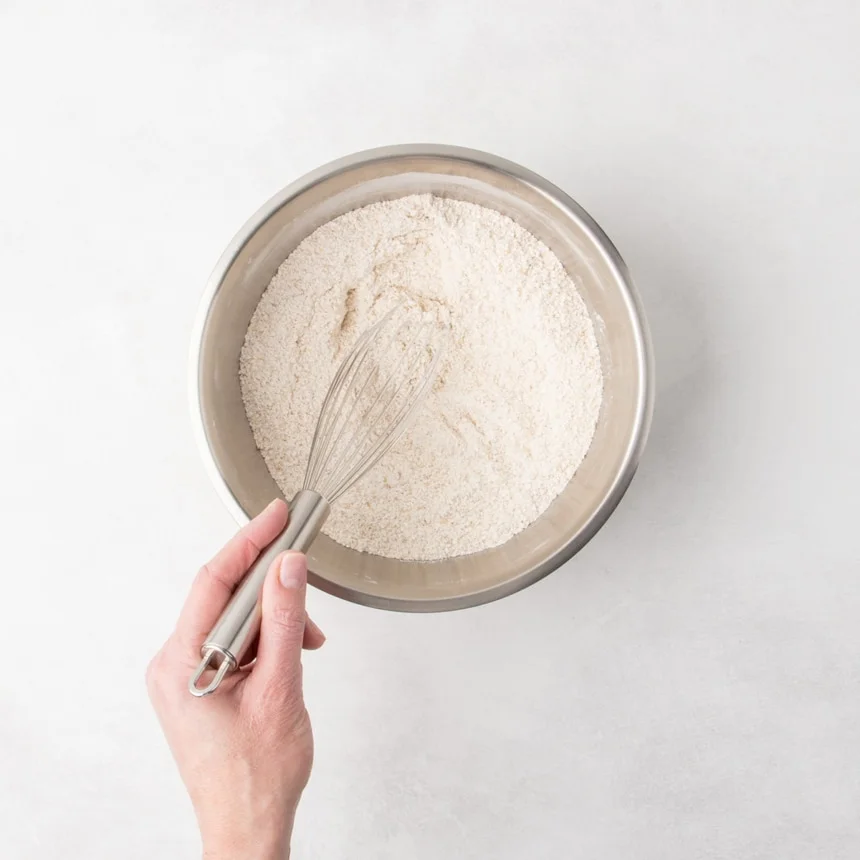
Whisk dry ingredients
In a medium-size mixing bowl, whisk together the gluten free flour blend, xanthan gum, oat bran, baking powder and soda, and salt. Combine the dry ingredients well to avoid any clumps that could alter the final result.
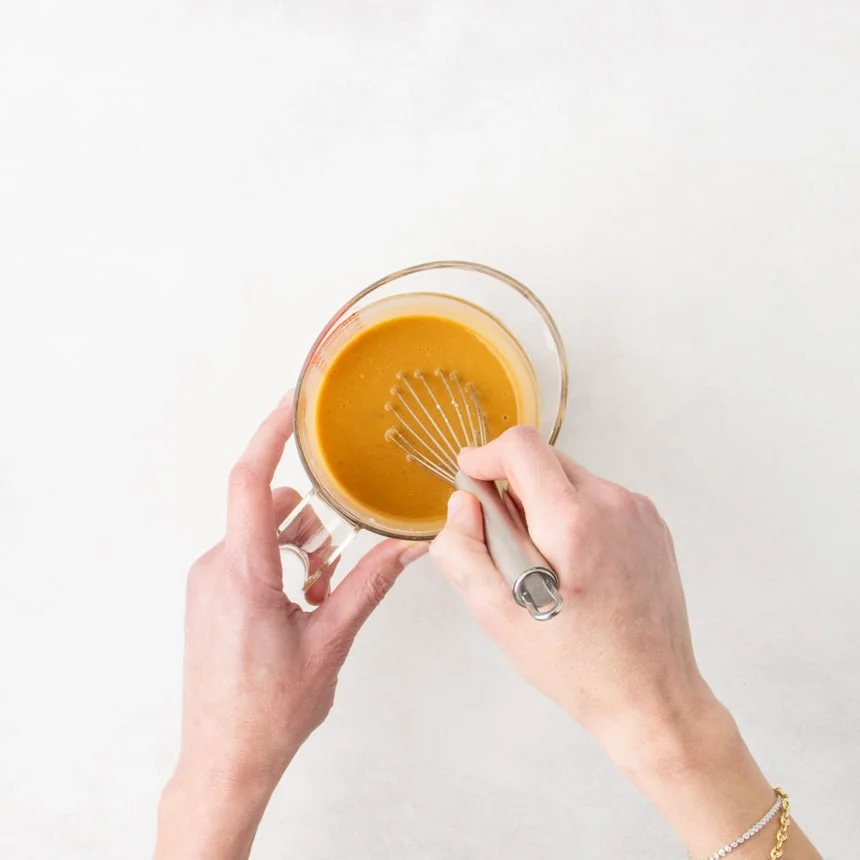
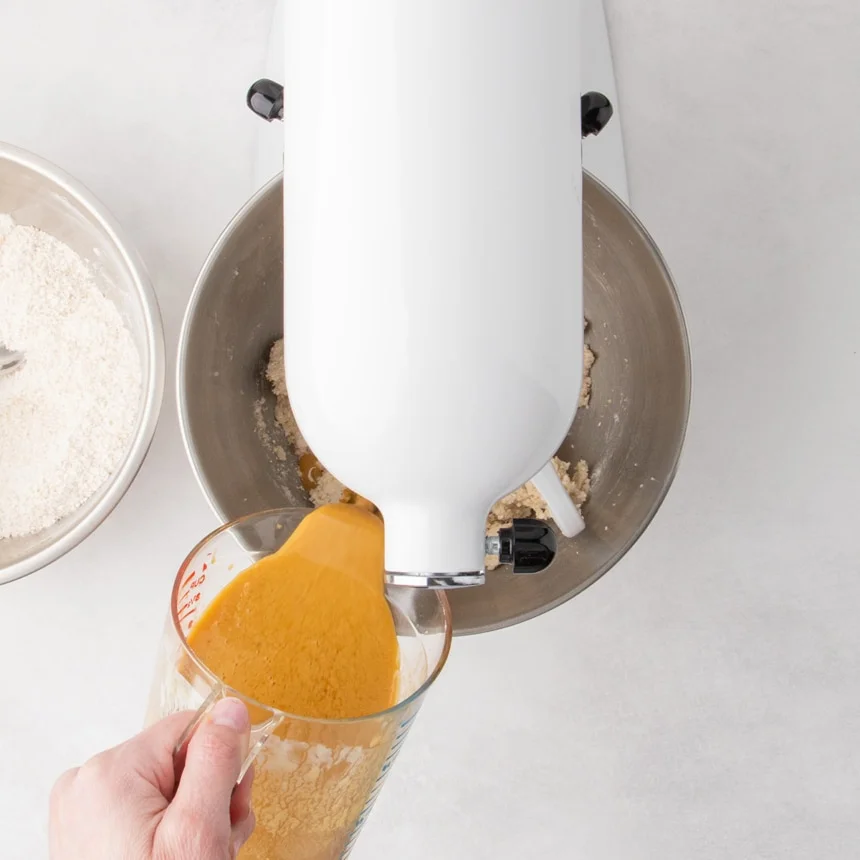
Whisk some wet ingredients
Whisk together the buttermilk, honey, molasses, eggs, and vanilla separately. Make sure that everything is at room temperature for a smooth result. Whisking these wet ingredients in a spouted 4 cup measuring cup makes assembling the batter without spills much easier.
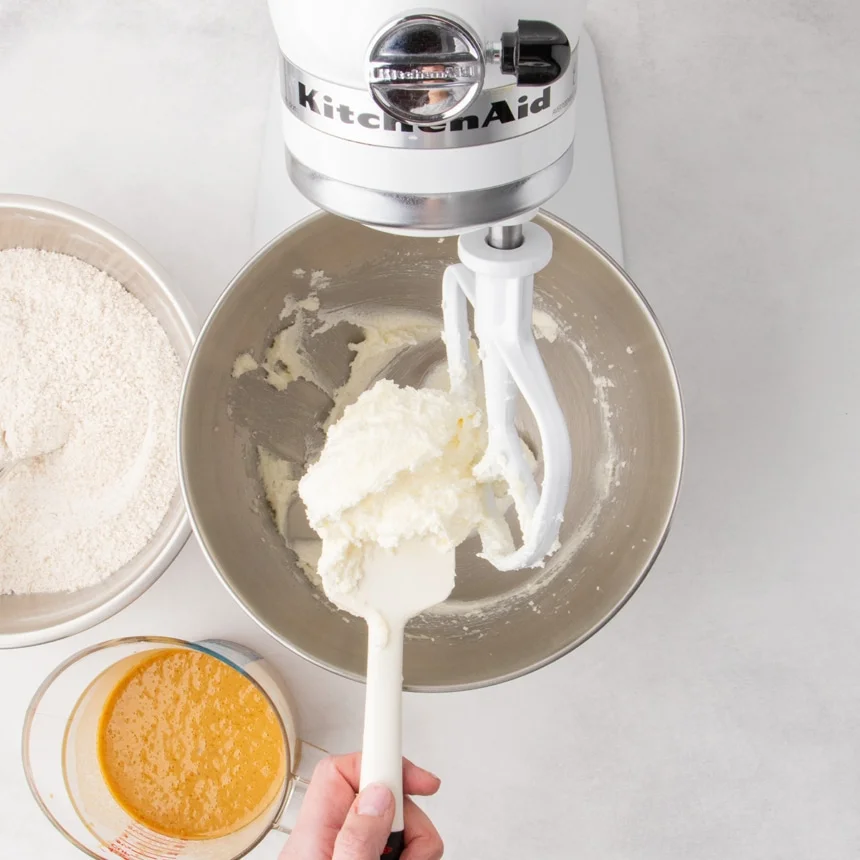
Cream the butter and sugar
Cream room temperature butter with granulated sugar in a stand mixer with the paddle attachment or a large mixing bowl with a handheld mixer for about 3 minutes on medium-high speed. The mixture should be pale yellow in color, should have increased in volume, and the sugar crystals should have dissolved into the butter. This adds air into the batter for taller muffins with a slightly more open, less dense crumb, which helps counteract the denser tendencies of liquid sweeteners like molasses and honey.
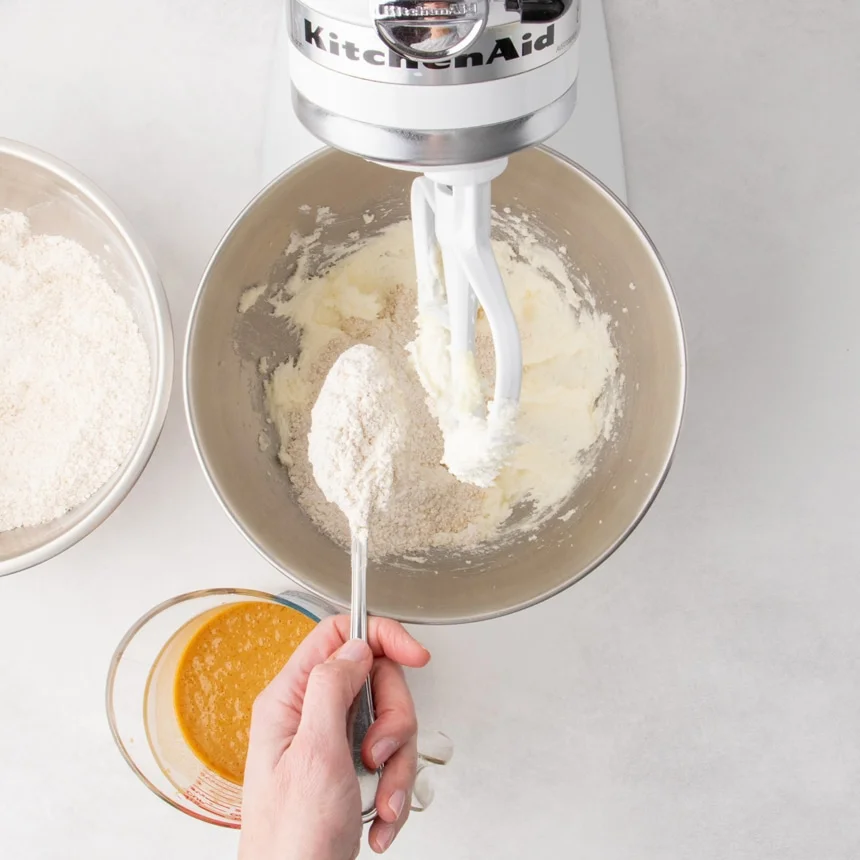
Finish the muffin batter
To the butter and sugar mixture, add the combined dry ingredients in 3 batches and the buttermilk mixture in 2 batches, beginning and ending with the batter. This helps evenly distribute all of the ingredients throughout the batter.
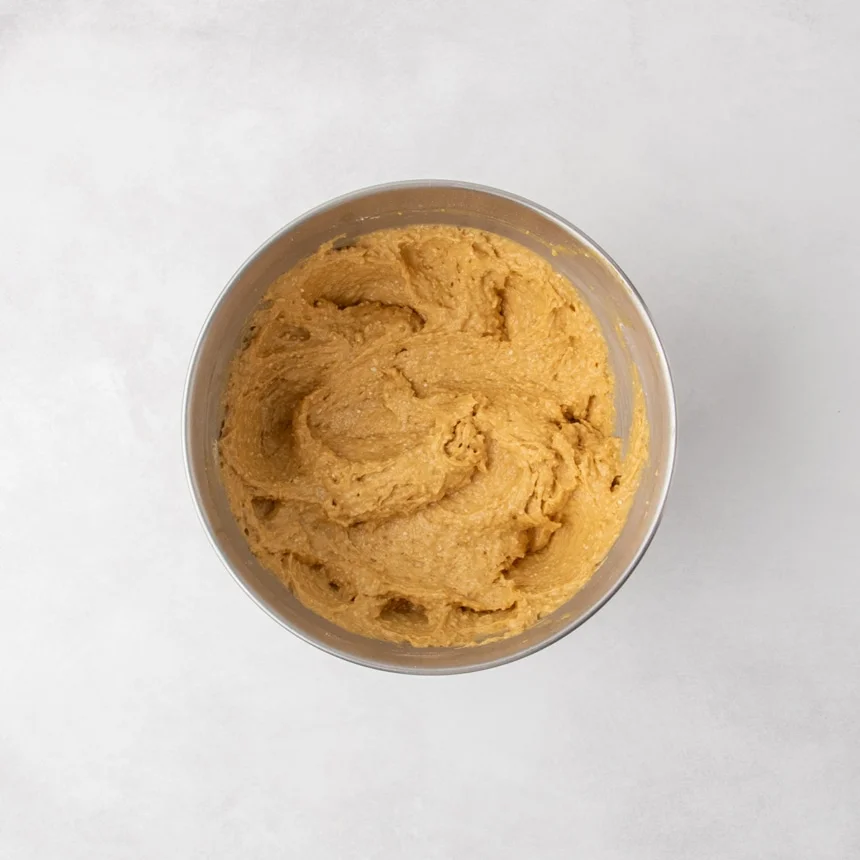
Let the batter rest
Set the muffin batter aside to rest in the mixing bowl for about 20 minutes. This will allow the oat bran to soften, and the ingredients in the flour blend to swell in size, making a thicker batter that rises higher.
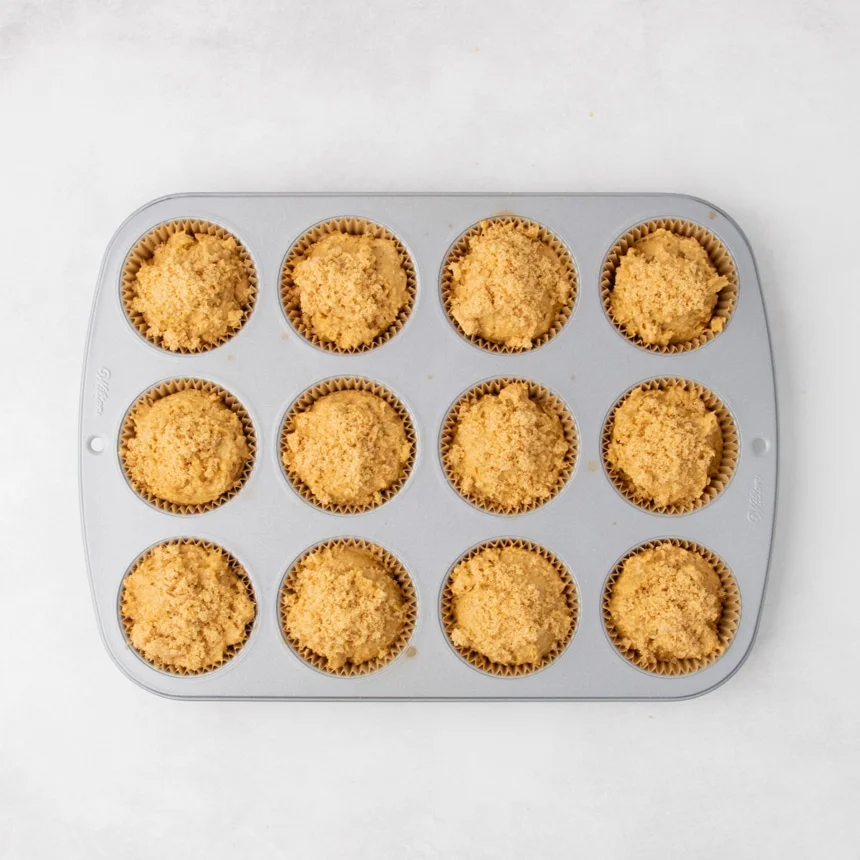
Transfer the batter
Line the 12 cups of a standard muffin tin and transfer the batter evenly among the wells. Pile the batter toward the center of each well to help them rise up rather than out.
Top the muffins
Sprinkle the tops of the muffin batter in each well with about 1 teaspoon light brown sugar. Try to keep the brown sugar from the muffin tin, since it will melt and may burn there.
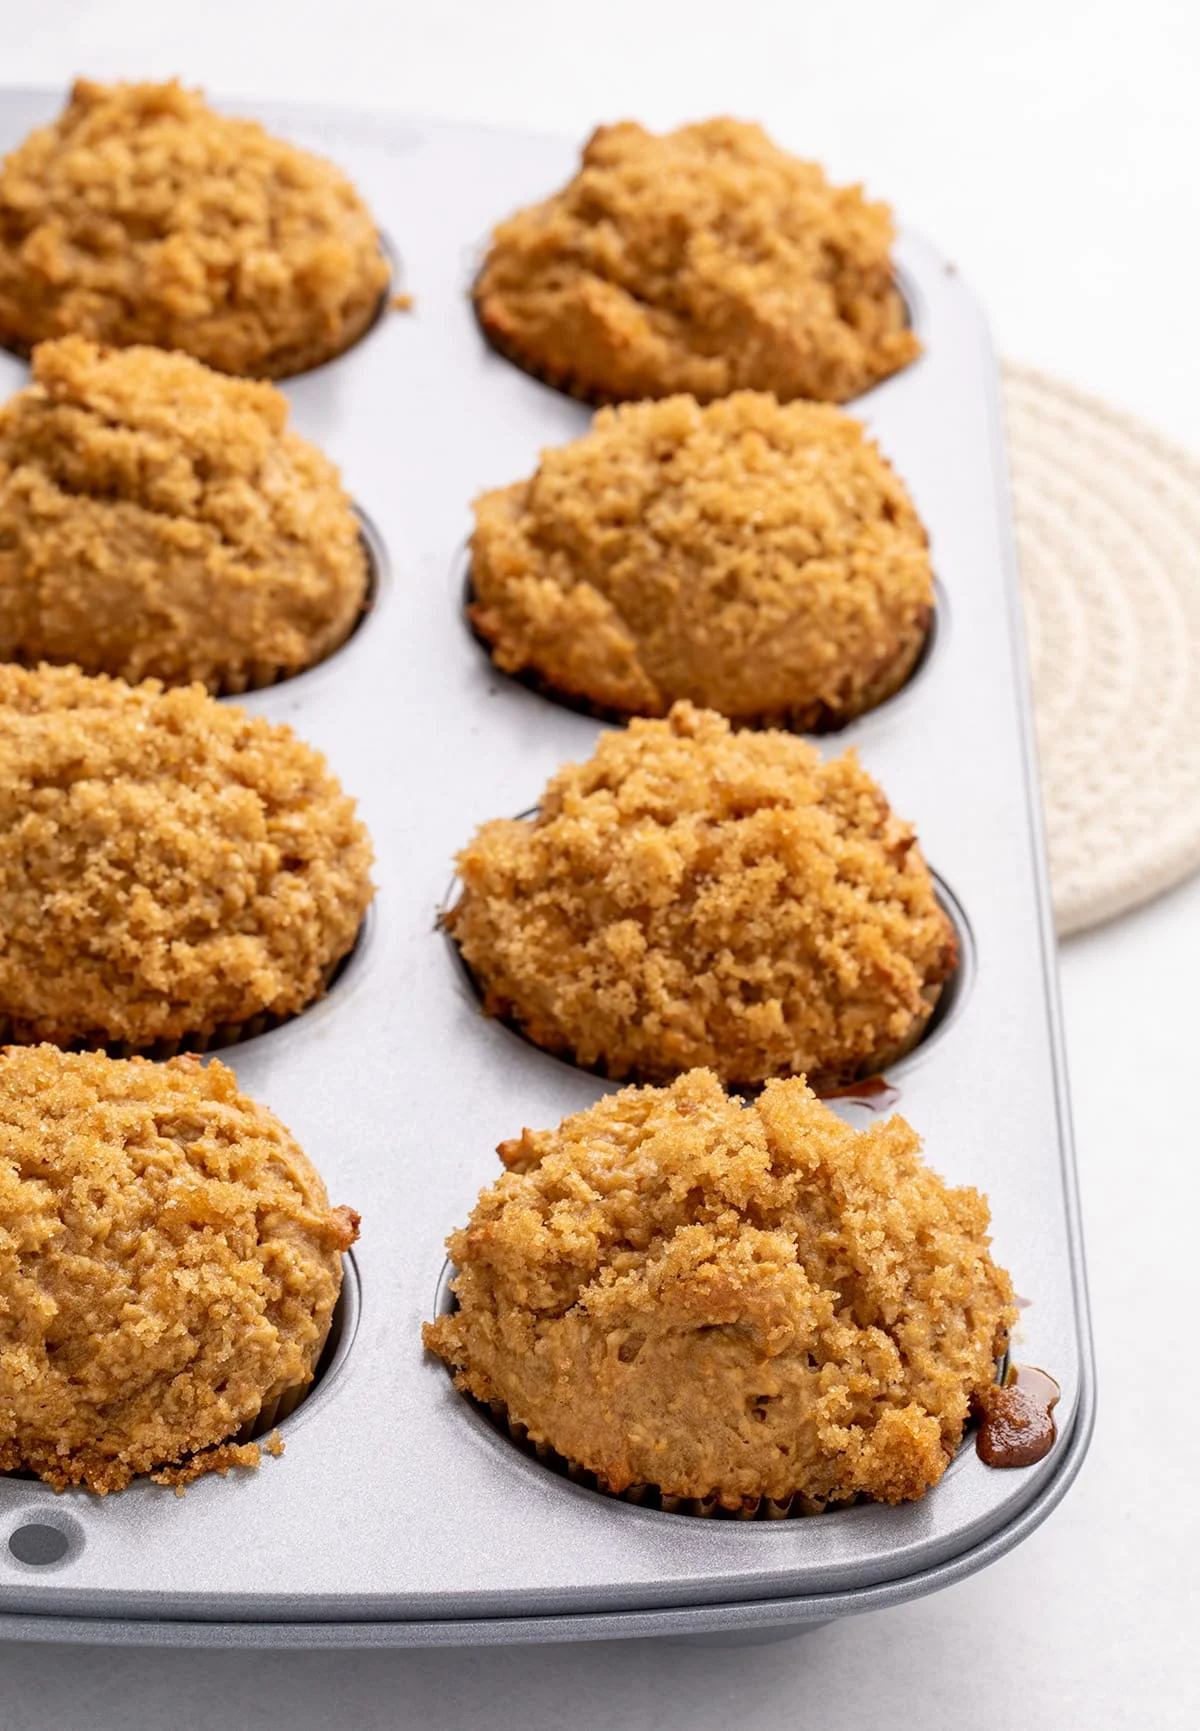
Bake
Begin baking at a higher initial heat of 400°F for 7 minutes to activate the baking powder quickly for a tall rise that sets the outer crust into a larger dome. Lower the oven temperature to 350°F and bake for another 12 minutes or until a toothpick inserted in the center comes out clean. If your muffins still aren’t done, reduce the temperature to 325°F to avoid burning the edges and bottom.

Expert tips
Watch for burnt bottoms
Liquid sweeteners like molasses and honey contain more fructose than regular granulated sugars, causing them to brown more quickly in the oven. That can also cause them to burn if they’re exposed to too much heat for too long. If you start to smell something burning after the initial high temperature bake, lower the oven temperature from 350°F to 325°F until done.
Test doneness with a toothpick
Most muffins are done baking when they spring back readily when you press a fingertip gently into the center. These muffins are likely to be overbaked by the time they pass that doneness test. Instead, test doneness by inserting a toothpick into the center of one toward the center. If it comes out clean, they’re done.
Check your oat bran label carefully
Bob’s Red Mill makes two types of oat bran, and only one is labeled gluten free. Be sure to grab the right one off the shelf!
Ingredients and substitutions
Dairy free
In place of the butter, I recommend trying block-style vegan butter. My favorite brands are Miyoko’s and Melt.
In place of buttermilk, just use half unsweetened nondairy milk (like coconut milk in the carton) and half nondairy plain yogurt to mimic the consistency and flavor of buttermilk best.
Egg free
I think “flax eggs” would work best here, since they’re more robust than chia eggs as an egg replacer, and the texture and taste might even enhance the chew of these muffins.
Oat bran
If you can find it, try using rice bran in this recipe. There isn’t another substitute for the bran in this recipe, since the recipe was developed to showcase bran. If you’d like a basic muffin recipe, try our recipe for easy gluten free muffins, a recipe with plenty of variations, and no bran.
Honey
In place of honey, try using Lyle’s golden syrup or light corn syrup. Maple syrup is too thin and has too much moisture to be a proper substitute.
Molasses
The molasses in this recipe really helps add depth of flavor to these bran muffins. You could try replacing it with more honey, but the overall flavor of the muffins won’t be the same.
Gluten Free Bran Muffins Recipe
Ingredients
- 1 ½ cups ( 210 g ) all purpose gluten free flour blend , (See Recipe Notes)
- 1 teaspoon xanthan gum , if your blend already contains it, use only 1/2 teaspoon (or 3/4 teaspoon if using BRM)
- 1 ⅓ cups ( 160 g ) oat bran , (See Recipe Notes)
- 1 ½ teaspoons baking powder
- ½ teaspoon baking soda
- ½ teaspoon kosher salt
- 1 cup ( 8 fluid ounces ) buttermilk , at room temperature
- 4 tablespoons ( 84 g ) honey
- 3 tablespoons ( 63 g ) unsulphured molasses
- 2 ( 100 g (out of shell) ) eggs , at room temperature
- 1 teaspoon pure vanilla extract
- 6 tablespoons ( 84 g ) unsalted butter , at room temperature
- ½ cup ( 100 g ) granulated sugar
- ¼ cup ( 55 g ) packed light brown sugar , for sprinkling on top (optional)
Instructions
-
Grease or line a standard 12-cup muffin tin and set it aside.
-
In a medium size bowl, whisk the flour, xanthan gum, oat bran, baking soda, baking powder, and salt to combine well. Set the bowl aside.
-
In a 4-cup measuring cup or medium-size bowl, whisk the buttermilk, honey, molasses, eggs and vanilla until well-combined.
-
In the bowl of a stand mixer fitted with the paddle attachment or a large mixing bowl with a handheld mixer, beat the butter and granulated sugar on medium-high speed until light and fluffy (about 3 minutes).
-
Add the dry ingredients in 3 batches and the buttermilk mixture in 2 batches to the mixing bowl, alternating between the them, and beginning and ending with the dry ingredients.
-
The batter will be thick but not stiff. Let it rest at room temperature in the mixing bowl for 20 minutes.
-
While the batter is resting, preheat your oven to 400°F.
-
Fill the prepared muffin cups all the way full with the batter after resting. Try to pile the batter toward the center of each well.
-
Sprinkle the top of the batter in each muffin lightly with the (optional) brown sugar.
-
Place the pan in the center of the preheated oven and bake for 7 minutes.
-
Reduce the oven temperature to 350°F and continue to bake for another 12 minutes, or until a tester placed in the center of a middle muffin comes out mostly clean. The center may still feel a bit too soft when pressed, so the toothpick test is more reliable here. Do not overbake or the edges and bottoms will burn.
-
Remove the muffins from the tin as soon as you’re able to handle them without burning your fingers. If you leave the muffins in the tin for too long, the muffins may shrink and separate from the liners.
-
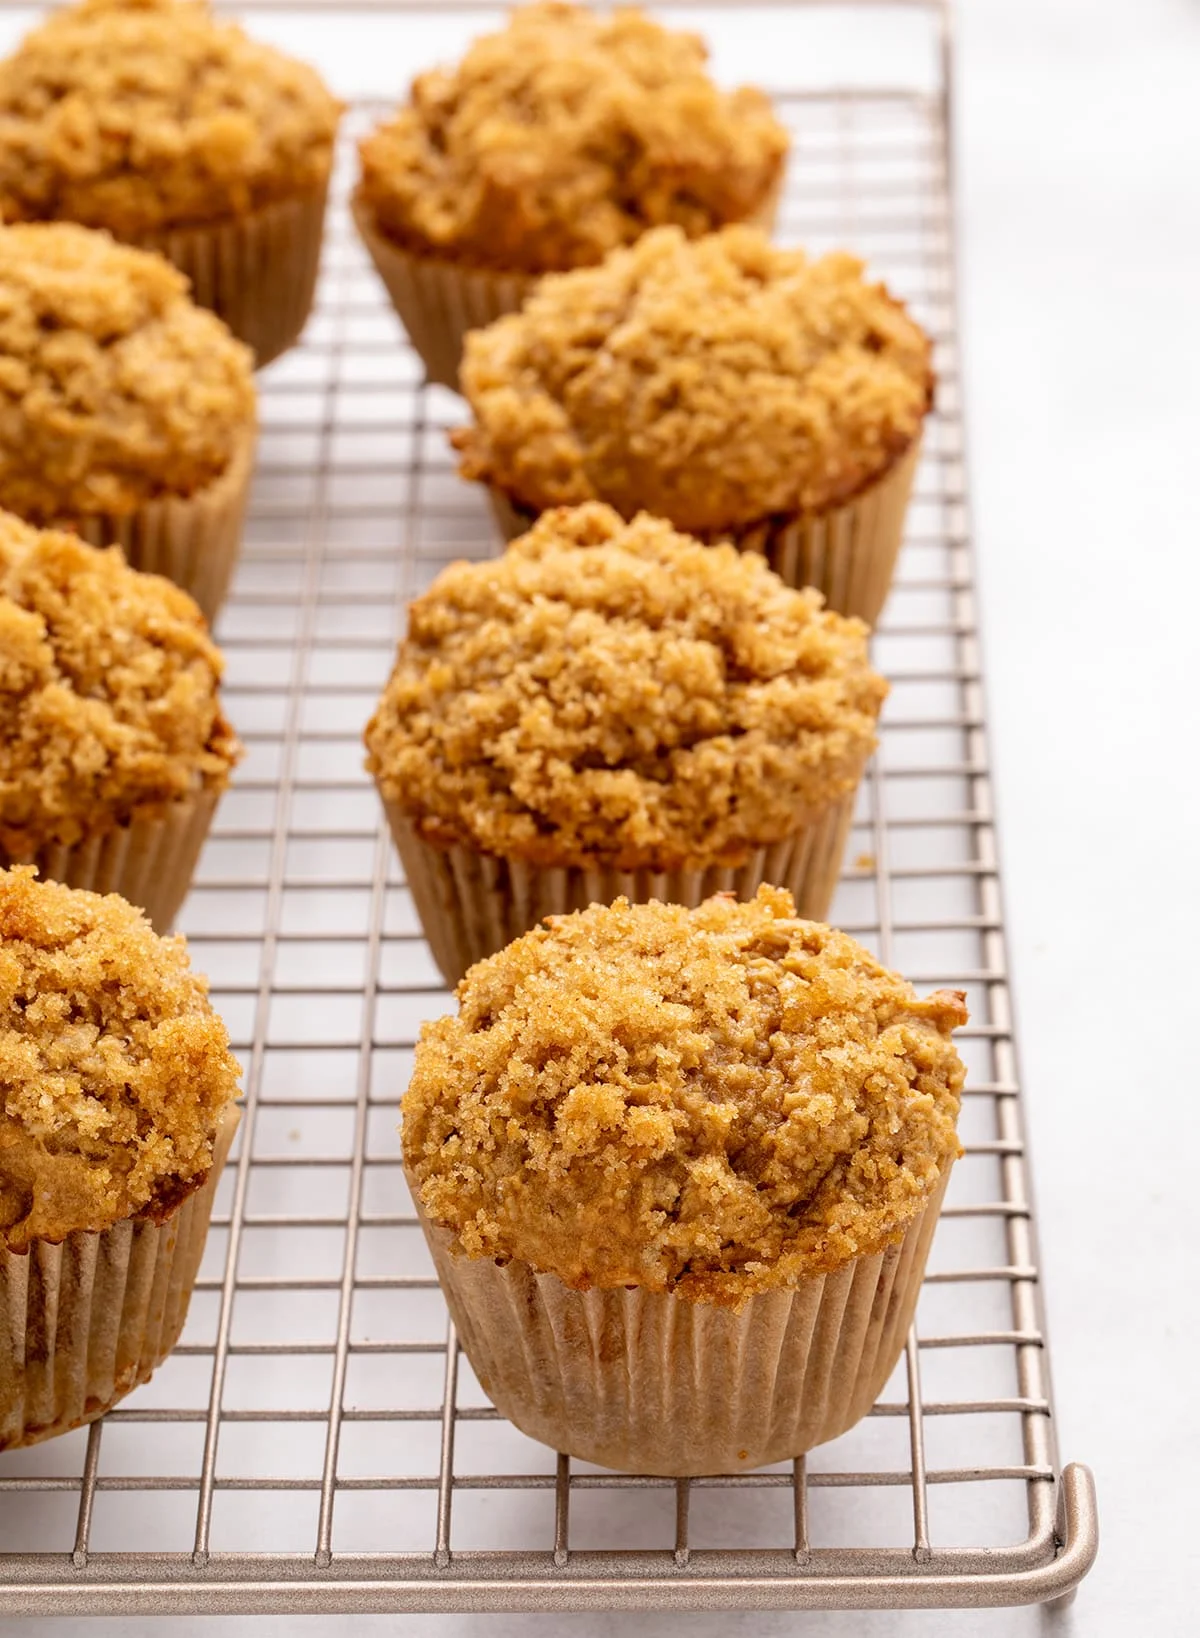
Transfer the muffins to a wire rack to cool to room temperature before serving.
Nutrition
Nutrition information is automatically calculated, so should only be used as an approximation.
Storage instructions
These muffins will stay fresh for about 2 days after they’ve cooled completely when stored in an airtight container at room temperature.
To refresh, sprinkle lightly with lukewarm water and place in a 300°F toaster oven until warmed before serving (about 5 minutes).
For longer storage, freeze them in a single layer on a flat surface, then place them in freezer-safe zip top bags for up to 3 months. Be sure to squeeze as much air out of the bags as possible to prevent freezer burn.
Defrost at room temperature or in the microwave for about 15 seconds, invert, and microwave for another 10 to 15 seconds. Once defrosted, you can also refresh as described above.