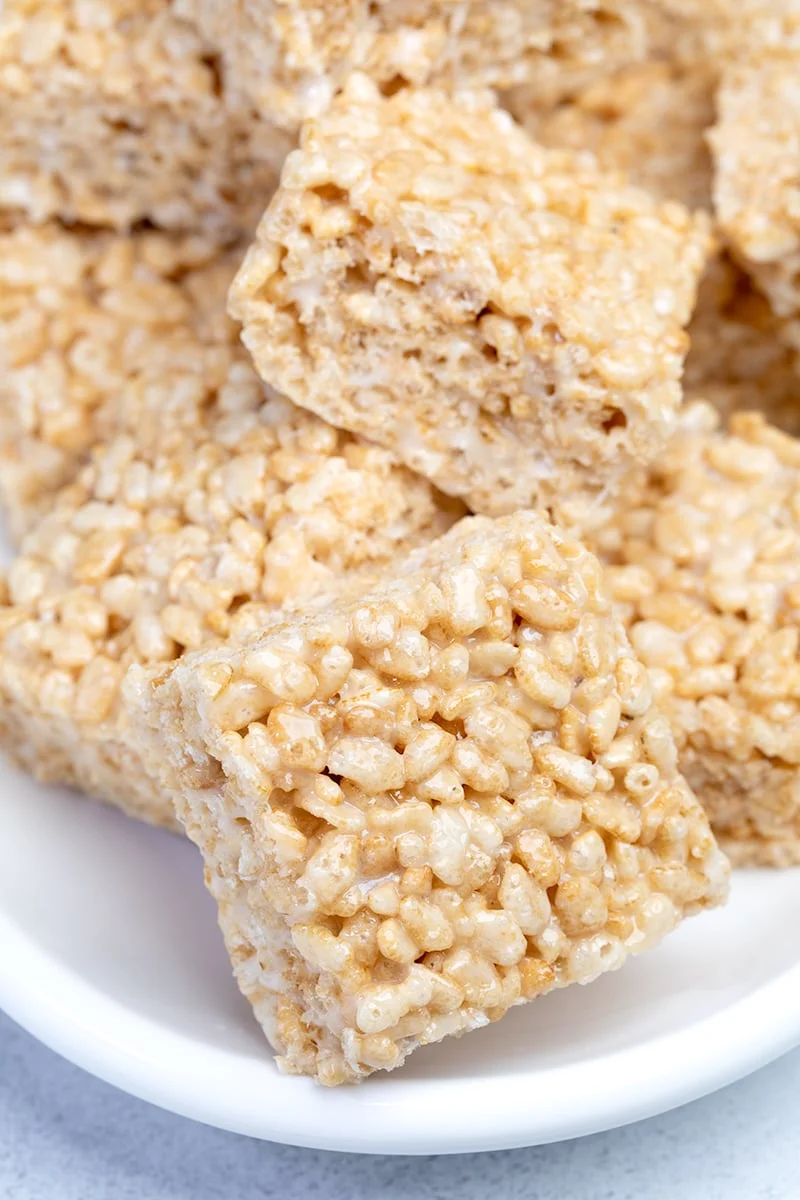
These gluten free rice krispie treats are a gluten free version of the iconic treats, and made with simple ingredients you have in your pantry. Find out all the tips and tricks to get them just right, and even troubleshoot along the way if something goes wrong!
What makes this recipe special
The web is crawling with recipes for rice krispie treats. Even Kellogg’s itself, the company that makes the original crisp rice cereal, Rice Krispies, has a recipe for the iconic childhood treat that you could make gluten free using gluten free crispy rice cereal. Of course, Kellogg’s rice krispies are not gluten free, but that’s not why I’m sharing a recipe for gluten free rice krispie treats.
I’m here to tell you that my recipe for these homemade treats is better than Kellogg’s recipe because:
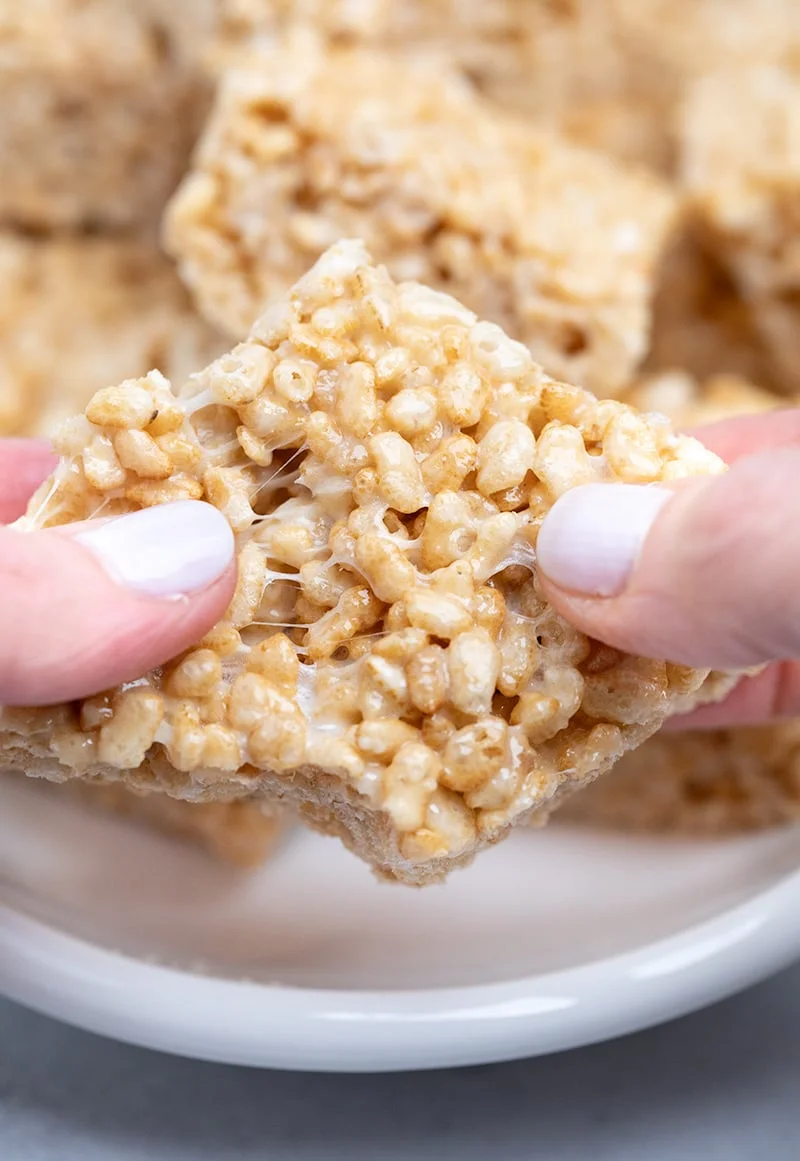
- The marshmallows to butter to crisp rice cereal ratio is perfect in this recipe (you’ll get treats that are soft and gooey enough to pull apart, but not so gooey that they won’t hold together).
- I can tell you how to make sure that your treats don’t taste stale.
- I even know how to keep your treats fresher longer, so you can make a big batch and not worry that they’ll go bad sitting around.
- You’ll learn how to troubleshoot your treats and make the best of it if you go wrong
How to make gluten free rice krispies

Making the melted marshmallow and butter mixture.
- Begin by melting the butter slowly over medium-low to low heat in a saucepan. If in doubt, err on the side of the lowest heat setting on your stovetop.
- Add the mini marshmallows and mix to coat them in the melted butter. Cook over medium-low to low heat, stirring frequently, just until the marshmallows are fully melted.
- Resist the urge to increase the heat to make the marshmallows melt more quickly. Fresh marshmallows will melt smoothly, will be easy to stir once fully melted, and shouldn’t stick that much to the bottom of the saucepan.
- Remove the pan of melted marshmallows from the heat, and stir in the salt and vanilla. Let the mixture sit, stirring occasionally, or until it’s no longer too hot to touch.
- Place brown rice cereal (Nature’s Path brand crispy rice is one of my favorites) in a large mixing bowl, and pour the marshmallow and butter mixture on top.
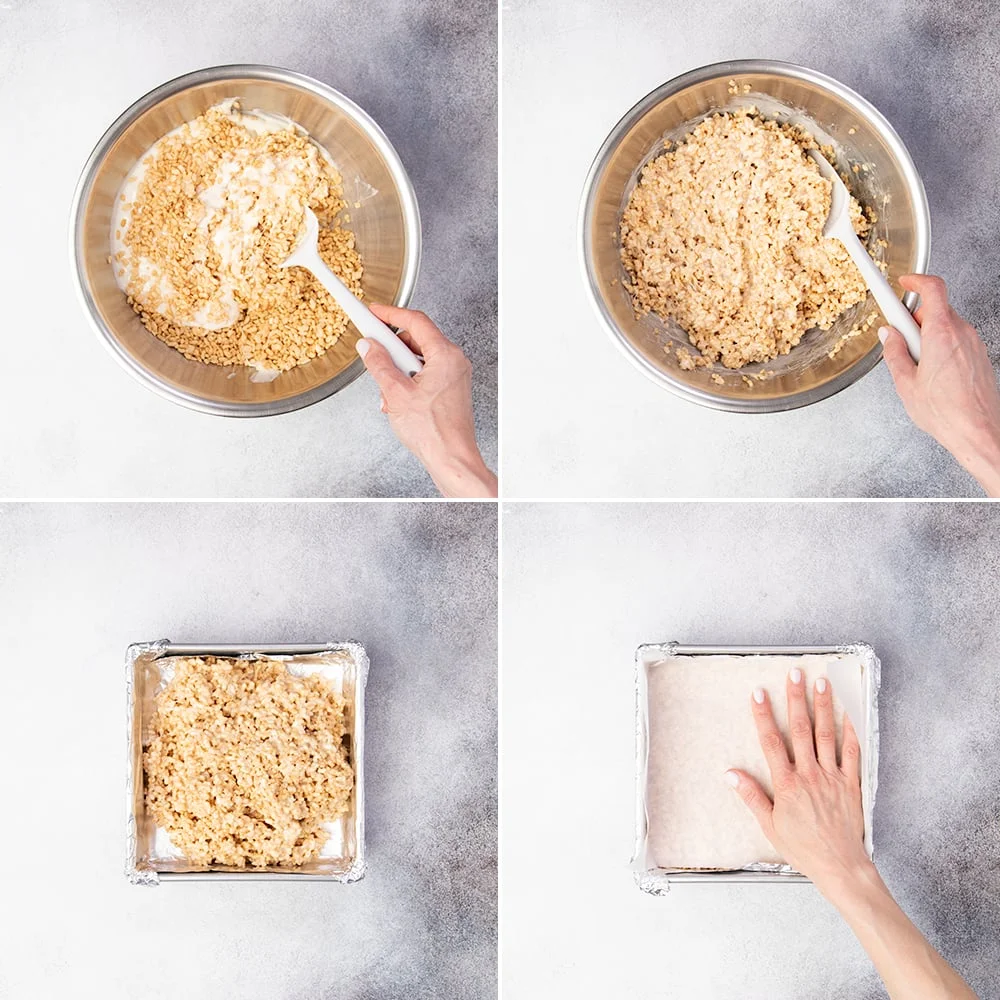
Combining the marshmallow mixture and cereal | shaping the treats
- Mix the ingredients together with a silicone spatula by folding the cereal into the melted marshmallows, continually scooping from the bottom to moisten all of the cereal.
- Transfer the mixture to the prepared baking pan, and press the mixture gently into an even layer with a greased spatula or spoon.
- For a smooth top, you can also place a piece of parchment paper on top of the mixture in the pan and smooth the mixture by placing gentle, even pressure with your palms. Don’t pack the mixture down firmly in the pan.
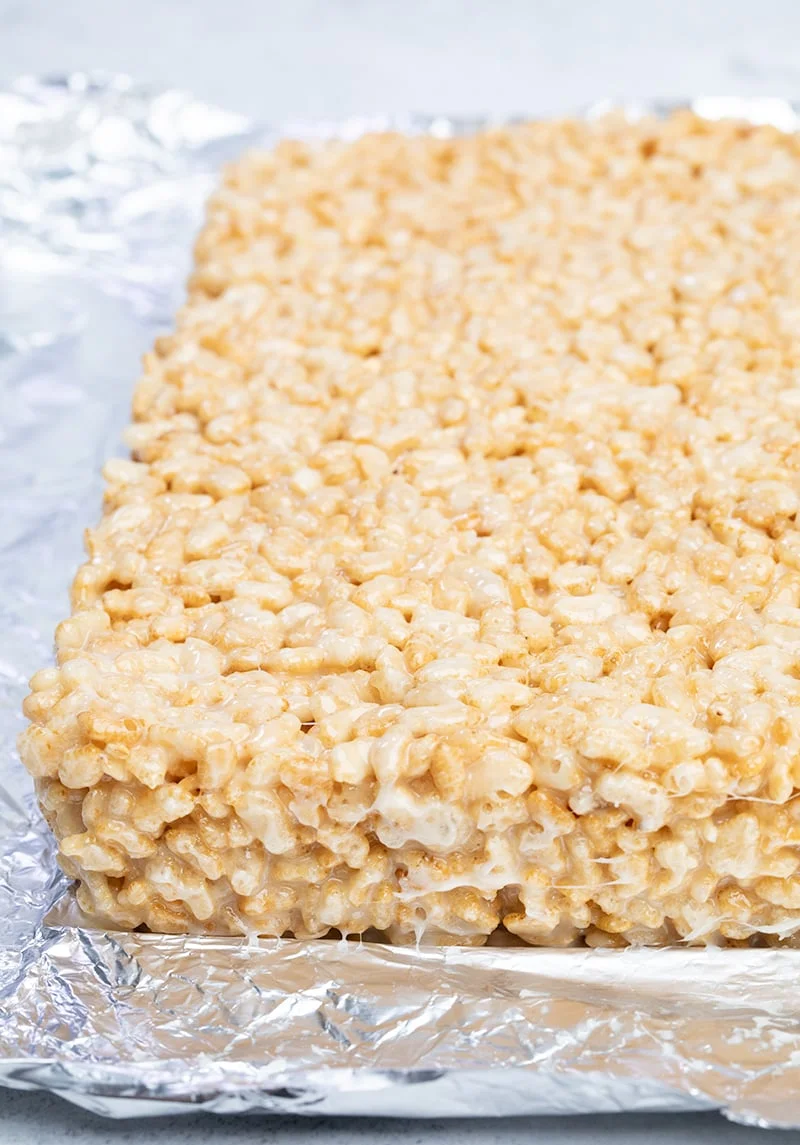
- Allow the mixture to cool, uncovered in the pan, completely to room temperature.
- Remove the treats from the pan with the liner, and turn them over onto a large piece of parchment paper. Carefully peel away the aluminum foil on the bottom.
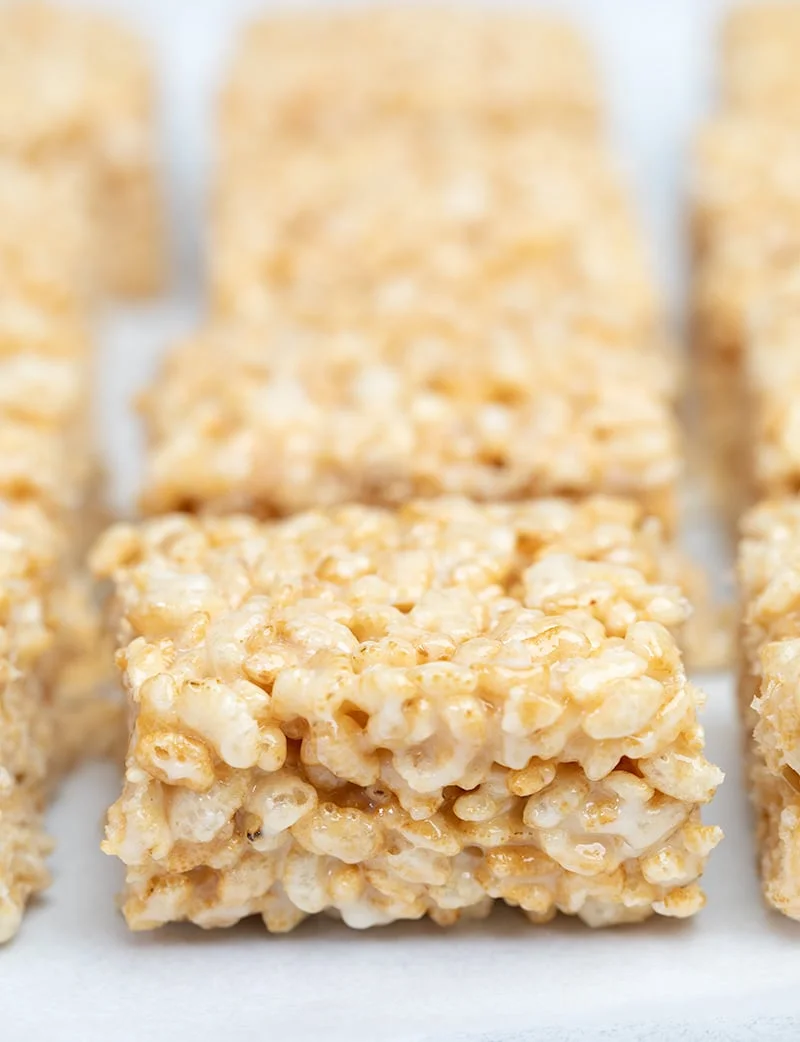
- Place another piece of parchment paper on the treats, and invert them again onto a flat surface. Peel away the first piece of parchment paper. Use a large sharp knife to slice the treats into 16 equal square pieces.
Troubleshooting your gluten free rice krispie treats
This incredibly simple recipe can be a tricky one if you don’t select your ingredients carefully, don’t measure just right, or linger too long while your marshmallows are melting. Here’s what you should expect if you veer off script, and how you can salvage your treats:
- Your marshmallows were stale: If your marshmallows weren’t as fresh as you thought, you’ll know right away when you try to melt them. They won’t begin to disappear quickly as they heat up; instead, they’ll clump together and resist melting. Lower the heat as much as you can, add a touch of water to the mixture to help loosen the marshmallows, and start with half as much cereal, then add the rest slowly and stop when the marshmallow mixture just won’t accept more (you may use as little as 5 cups of cereal).
- You overcooked the marshmallows: If your marshmallows weren’t stale, but you kept cooking them too long or you cooked them over higher heat than you meant to, they’ll start to clump and seize like when they’re stale. Follow the instructions above for how to rescue stale marshmallows.
- You browned the butter: If you cooked the butter too long or at a higher heat than you meant to, you may have noticed that it started to turn a pale brown color. That just means that you browned the butter a bit, which can mean a nice, slightly nutty flavor to your treats. It also means that you removed too much moisture from the butter, so if your marshmallows aren’t melting smoothly with the butter, just add a drop of water to try to smooth things out.
- You didn’t grease the aluminum foil: If the foil is stuck to your rice krispies treats, there’s no way to remove it cleanly from the bottom. Try chilling the treats until they’re firmer, then slice away the very bottom of the treats closest to the foil horizontally. Go slowly, though, so the knife doesn’t slip while you’re slicing.
- You didn’t let the marshmallow mixture cool: If you add the melted marshmallow and butter mixture to the cereal immediately after melting, without letting it cool for a few minutes, it can make the cereal (and therefore the rice krispie treats) taste stale. The same thing happens if your crisp rice cereal was actually stale before you began. This is the one instance where you really can’t fix things, and your treats will just taste stale. It happens!
If you want a similar treat, my granola bar recipe is perfect for any ages!
Ingredient substitution suggestions
Here’s what I know, and what I don’t about how to make these homemade marshmallow rice krispie treats if you’re avoiding additional allergens:
Dairy free
Just swap out the butter for Earth Balance Buttery Sticks or vegan butter from Melt or Miyoko’s Kitchen.
Gelatin free
If you can’t have gelatin, try using Dandies brand vegan miniature marshmallows in place of conventional miniature marshmallows. According to the Dandies website, you should try adding some water to the melted marshmallow and butter mixture. To make your treats vegan, you’ll also need to replace the butter with a dairy free alternative like we discussed above, but I’d try Dandies recipe for those since they’re probably the experts on their own marshmallows.
Sugar-free
Marshmallows are basically whipped cooked sugar with gelatin added, so you can’t make them without sugar at all. But you can make them refined sugar free by replacing the 2 cups of granulated sugar with 1 1/2 cups (504 g) honey. The honey will turn darker as it cooks to the softball stage. Stir to prevent burning.

FAQs
Rice krispie treats are gluten free if they’re made with gluten free ingredients. Since Kellogg’s Rice Krispies cereal is not gluten free, the packaged Kellogg’s brand rice krispie treats are not gluten free, nor are any treats made with that cereal. Any rice krispie treat made with gluten free crisp rice cereal in a gluten-free environment, like these treats here, should be safely gluten free, though. Packaged marshmallows are almost always gluten free; butter is, of course, naturally gluten free. If you’re making the variety with your own marshmallow mixture instead of packaged marshmallows, sugar and gelatin are also naturally gluten free.
Wrapped tightly in plastic wrap, sitting at cool room temperature in my kitchen, I’ve found that these treats stay fresh-tasting for 3 to 5 days. Be sure to let them cool completely before slicing and wrapping them, because any trapped heat in the plastic will cause condensation and your treats will go stale.
Yes! I have had remarkable success freezing these treats if they’re wrapped very tightly in freezer-safe wrap that keeps them from exposure to air. I like to use Glad brand Press’n Seal freezer-safe wrap, and find that as long as the wrap touches all sides of each treat, they stay fresh and defrost beautifully, without tasting stale at all.
If you followed the recipe as written, using fresh ingredients, be sure to let the treats cool completely before you try to slice them or they will stick to the knife and crumble. Also, try slicing them in one motion with a straight, sharp knife, rather than sawing them with a serrated knife.
Gluten Free Rice Krispie Treats Recipe
Ingredients
- 8 tablespoons ( 112 g ) unsalted butter
- 15 ounces miniature gluten free marshmallows , make sure they are fresh!
- ½ teaspoon kosher salt
- 1 teaspoon pure vanilla extract
- 6 ¾ cups ( 203 g ) gluten free crisp rice cereal , I used 365 brand
Instructions
-
Line an 8- or 9-inch square baking pan with nonstick aluminum foil, or with heavy-duty aluminum foil, and grease the foil with cooking oil spray. Set the prepared pan aside.
-
In a medium-size, heavy-bottom saucepan, place the butter over medium-low heat until just melted. Melt it slowly and keep the heat low so the butter doesn’t brown at all.
-
Add the miniature marshmallows and mix to coat the marshmallows in the melted butter. Cook over medium-low to low heat, stirring frequently, just until the marshmallows are fully melted. Do not continue to cook the marshmallows once they’re fully melted or your treats will be hard.
-
Remove the pan of melted marshmallows from the heat, and stir in the salt and vanilla. Allow the marshmallow mixture to sit for 5 to 7 minutes, stirring occasionally, or until the mixture is no longer too hot to touch.
-
In a large mixing bowl, place the cereal. Pour the melted and slightly cooled marshmallow mixture on top.
-
Use a silicone spatula to turn the cereal over and into the marshmallow mixture, continually scooping from the bottom to moisten all of the cereal.
-
Transfer the mixture to the prepared baking pan, and press the mixture gently into an even layer with a greased spatula or spoon.
-
For a smooth top, you can also place a piece of parchment paper on top of the mixture in the pan and smooth the mixture by placing gentle, even pressure with your palms. Don’t pack the mixture down firmly in the pan.
-
Allow the mixture to cool, uncovered in the pan, completely to room temperature.
-
Remove the treats from the pan with the liner, and turn them over onto a large piece of parchment paper. Carefully peel away the aluminum foil on the bottom.
-
Place another piece of parchment paper on the treats, and invert them again onto a flat surface. Peel away the first piece of parchment paper. Use a large sharp knife to slice the treats into 16 equal square pieces.
Video
Nutrition
Nutrition information is automatically calculated, so should only be used as an approximation.